Chapter 4: Message Board App
In this chapter, we will use a database for the first time to build a basic Message Board application where users can post and read short messages. We’ll explore Django’s powerful built-in admin interface, which provides a visual way to change our data. And after adding tests, we will push our code to GitHub and deploy the app on Fly.
Thanks to the powerful Django ORM (Object-Relational Mapper), there is built-in support for multiple database backends: PostgreSQL, MySQL, MariaDB, Oracle, and SQLite. As a result, developers can write the same Python code in a models.py file, which will automatically be translated into the correct SQL for each database. The only configuration required is to update the DATABASES section of our django_project/settings.py file: truly an impressive feature!
For local development, Django defaults to using SQLite because it is file-based and, therefore, far more straightforward to use than the other database options that require a dedicated server to run separately from Django itself.
Initial Set Up
Since we’ve already set up several Django projects in the book, we can quickly run through the standard commands to begin a new one. We need to do the following:
- make a new directory for our code called
message-boardon the desktop - set up a new Python virtual environment and activate it
In a new command line console, enter the following commands:
# Windows
$ cd onedrive\desktop\code
$ mkdir message-board
$ cd message-board
$ python -m venv .venv
$ .venv\Scripts\Activate.ps1
$ (.venv)

# macOS
$ cd ~/desktop/code
$ mkdir message-board
$ cd message-board
$ python3 -m venv .venv
$ source .venv/bin/activate
$ (.venv)
Then finish the setup by doing the following:
- install Django and Black in the new virtual environment
- create a new project called
django_project - create a new app called
posts
(.venv) $ python -m pip install django~=4.2.0
(.venv) $ python -m pip install black
(.venv) $ django-admin startproject django_project .
(.venv) $ python manage.py startapp posts
As a final step, update django_project/settings.py to alert Django to the new app, posts, by adding it to the bottom of the INSTALLED_APPS section.
# django_project/settings.py
INSTALLED_APPS = [
    "django.contrib.admin",
    "django.contrib.auth",
    "django.contrib.contenttypes",
    "django.contrib.sessions",
    "django.contrib.messages",
    "django.contrib.staticfiles",
    "posts",  # new
]
Then execute the migrate command to create an initial database based on Django’s default settings.
(.venv) $ python manage.py migrate
If you look inside our directory with the ls command, you’ll see the db.sqlite3 file representing our SQLite database.
(.venv) > ls
.venv     db.sqlite3     django_project     manage.py     posts
A db.sqlite3 file is created the first time you run either migrate or runserver. However, migrate will sync the database with the current state of any database models contained in the project and listed in INSTALLED_APPS. In other words, to ensure the database reflects the current state, you’ll need to run migrate (and also makemigrations) each time you update a model. More on this shortly.
To confirm everything works correctly, spin up our local server.
(.venv) $ python manage.py runserver
In your web browser, navigate to http://127.0.0.1:8000/ to see the familiar Django welcome page.
Create a Database Model
Our first task is to create a database model where we can store and display posts from our users. Django’s ORM will automatically turn this model into a database table for us. In a real-world Django project, there are often many complex, interconnected database models, but we only need one in our simple message board app.
Open the posts/models.py file and look at the default code which Django provides:
# posts/models.py
from django.db import models

# Create your models here
Django imports a module, models, to help us build new database models which will “model” the characteristics of the data in our database. For each database model we want to create, the approach is to subclass (meaning to extend) django.db.models.Model and then add our fields. To store the textual content of a message board post, we can do the following:
# posts/models.py
from django.db import models


class Post(models.Model):  # new
    text = models.TextField()
Note that we’ve created a new database model called Post, which has the database field text. We’ve also specified the type of content it will hold, TextField(). Django provides many model fields supporting common types of content such as characters, dates, integers, emails, and so on.
Activating models
Now that our new model has been created, we need to activate it. Fron now on, whenever we make or modify an existing model, we’ll need to update Django in a two-step process:
-
First, we create a migrations file with the
makemigrationscommand. Migration files create a reference of any changes to the database models, which means we can track changes–and debug errors as necessary–over time. -
Second, we build the database with the
migratecommand, which executes the instructions in our migrations file.
Ensure the local server is stopped by typing Control+c on the command line and then run the commands python manage.py makemigrations posts and python manage.py migrate.
(.venv) $ python manage.py makemigrations posts
Migrations for 'posts':
  posts/migrations/0001_initial.py
    - Create model Post

(.venv) $ python manage.py migrate
Operations to perform:
  Apply all migrations: admin, auth, contenttypes, posts, sessions
Running migrations:
  Applying posts.0001_initial... OK
You don’t have to include a name after makemigrations. If you just run makemigrations without specifying an app, a migrations file will be created for all available changes throughout the Django project. That is fine in a small project like ours with only a single app, but most Django projects have more than one app! Therefore if you made model changes in multiple apps, the resulting migrations file would include all those changes: not ideal! Migrations files should be as small and concise as possible, making it easier to debug in the future or even roll back changes as needed. Therefore, as a best practice, adopt the habit of always including the name of an app when executing the makemigrations command!
Django Admin
One of Django’s killer features is its robust admin interface that visually interacts with data. It came about because Django started off as a newspaper CMS (Content Management System). The idea was that journalists could write and edit their stories in the admin without needing to touch “code.” Over time, the built-in admin app has evolved into a fantastic, out-of-the-box tool for managing all aspects of a Django project.
To use the Django admin, we must first create a superuser who can log in. In your command line console, type python manage.py createsuperuser and respond to the prompts for a username, email, and password:
(.venv) $ python manage.py createsuperuser
Username (leave blank to use 'wsv'): wsv
Email: [email protected]
Password:
Password (again):
Superuser created successfully.
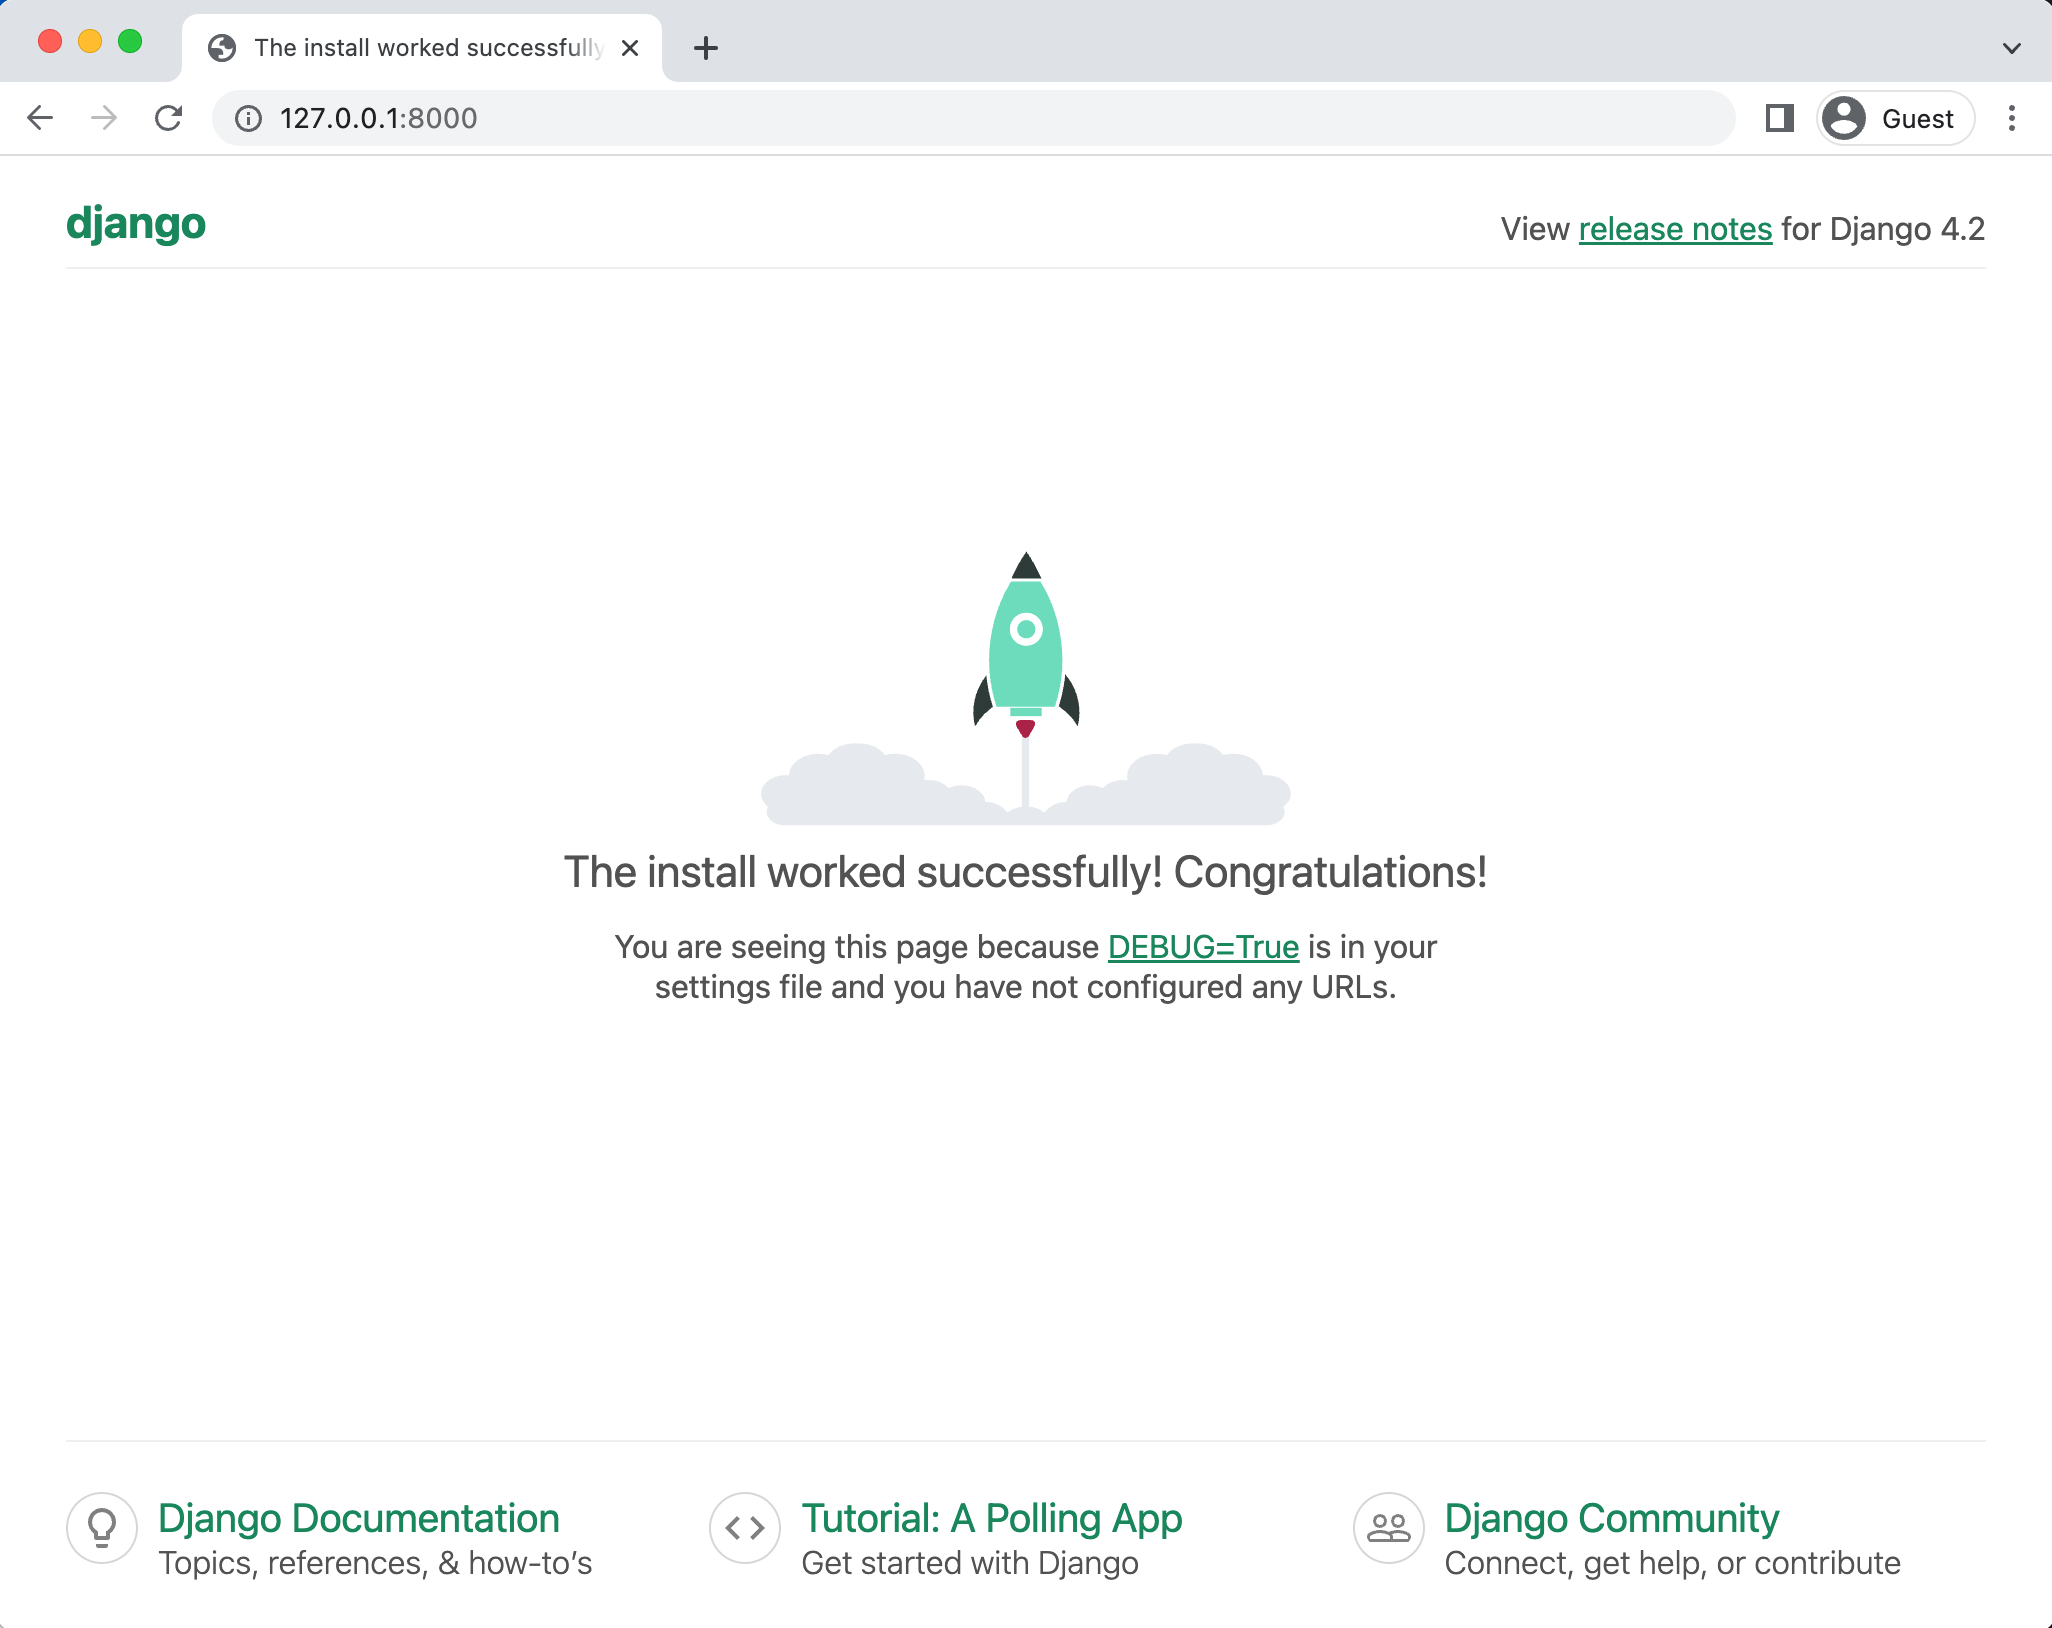
When you type your password, it will not appear visible in the command line console for security reasons. For local development, I often use testpass123. Restart the Django server with python manage.py runserver and, in your web browser, go to http://127.0.0.1:8000/admin/. You should see the login screen for the admin:
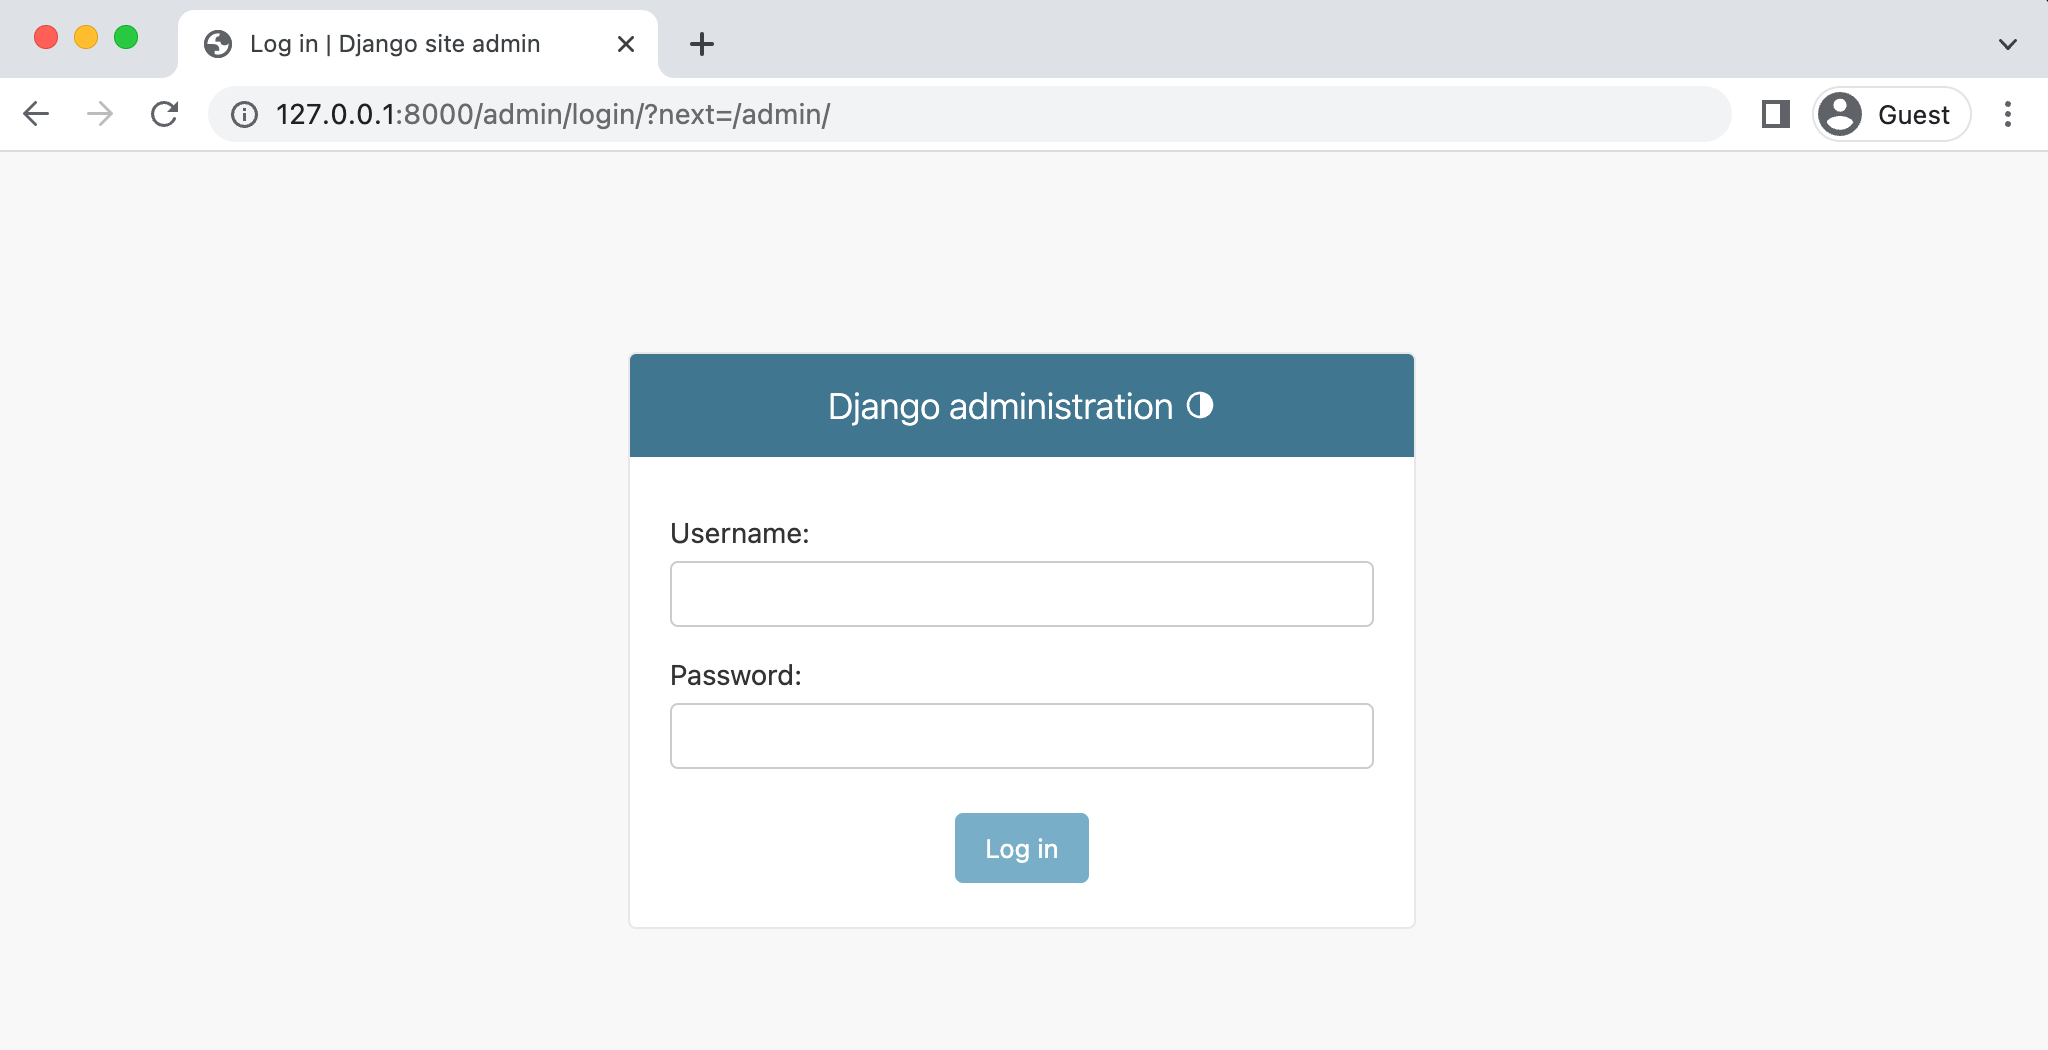
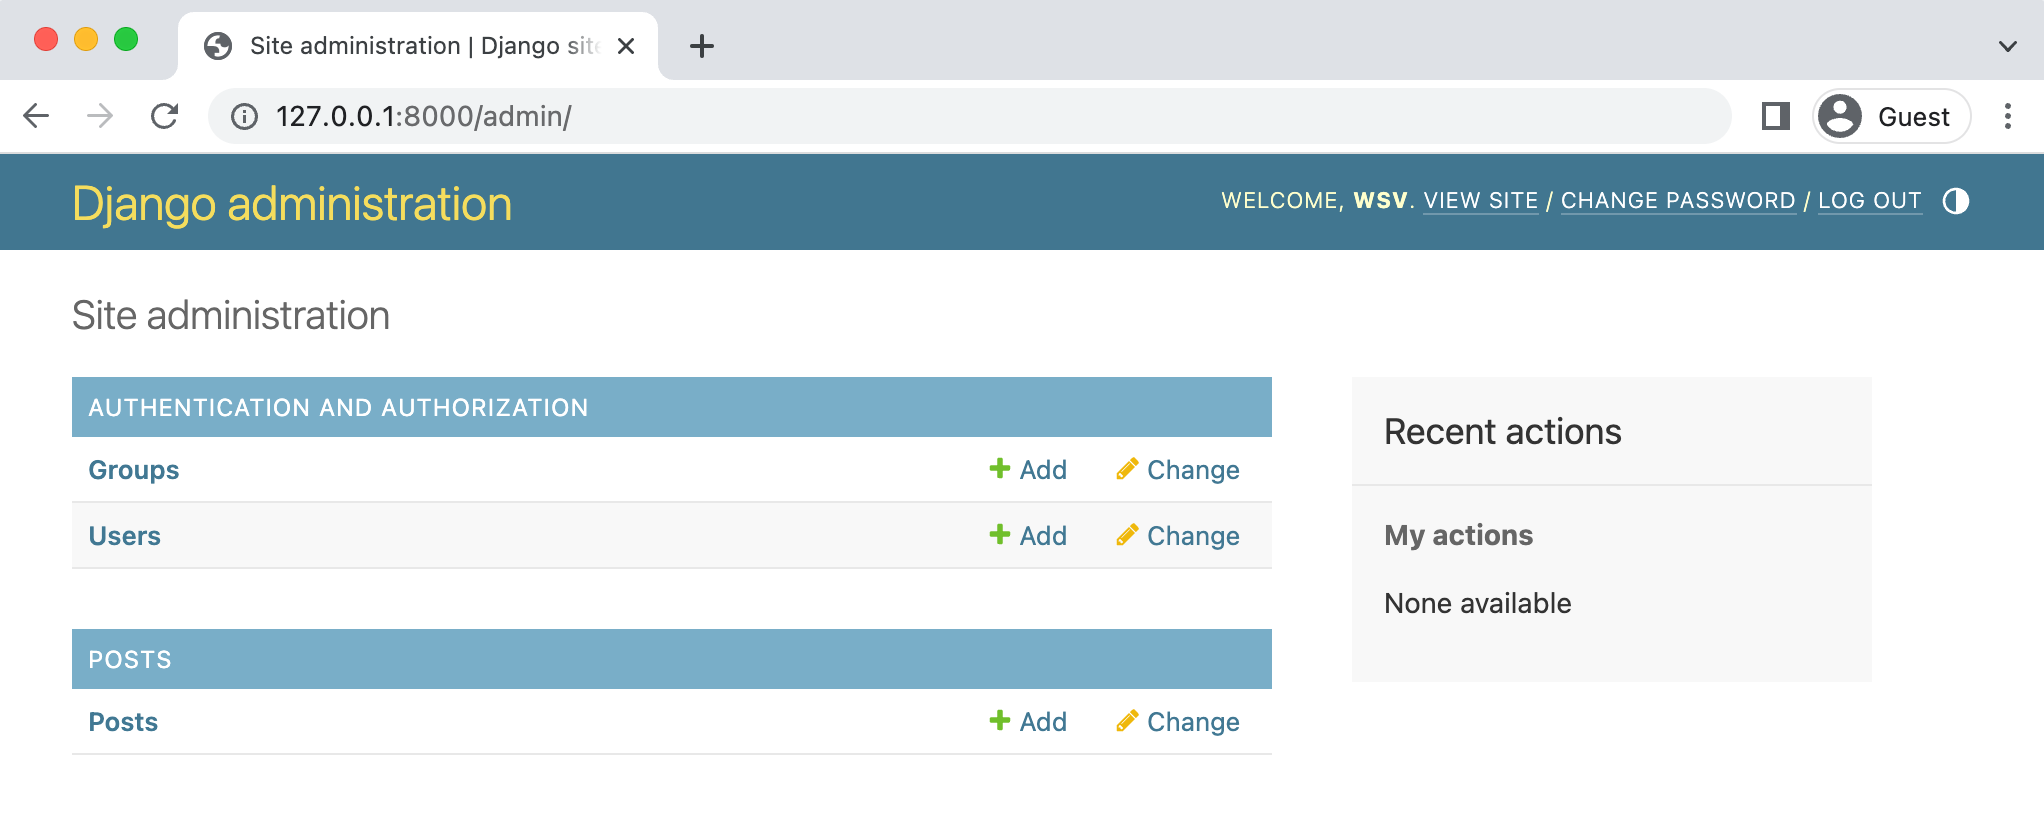
Log in by entering the username and password you just created. You will see the Django admin homepage next:
Django has impressive support for multiple language, so if you’d like to see the admin, forms, and other default messages in a language other than English, try adjusting the LANGUAGE_CODE configuration in django_project/settings.py which is automatically set to American English, en-us.
But where is our posts app since it is not displayed on the main admin page? Just as we must explicitly add new apps to the INSTALLED_APPS config, so, too, must we update an app’s admin.py file for it to appear in the admin.
In your text editor, open up posts/admin.py and add the following code to display the Post model.
# posts/admin.py
from django.contrib import admin

from .models import Post

admin.site.register(Post)
Django now knows it should display our posts app and its database model Post on the admin page. If you refresh your browser, you’ll see that it appears:
Let’s create our first message board post for our database. Click the + Add button opposite Posts and enter your content in the Text form field.

Then click the “Save” button to redirect you to the main Post page. However, if you look closely, there’s a problem: our new entry is called “Post object (1)”, which isn’t very descriptive!
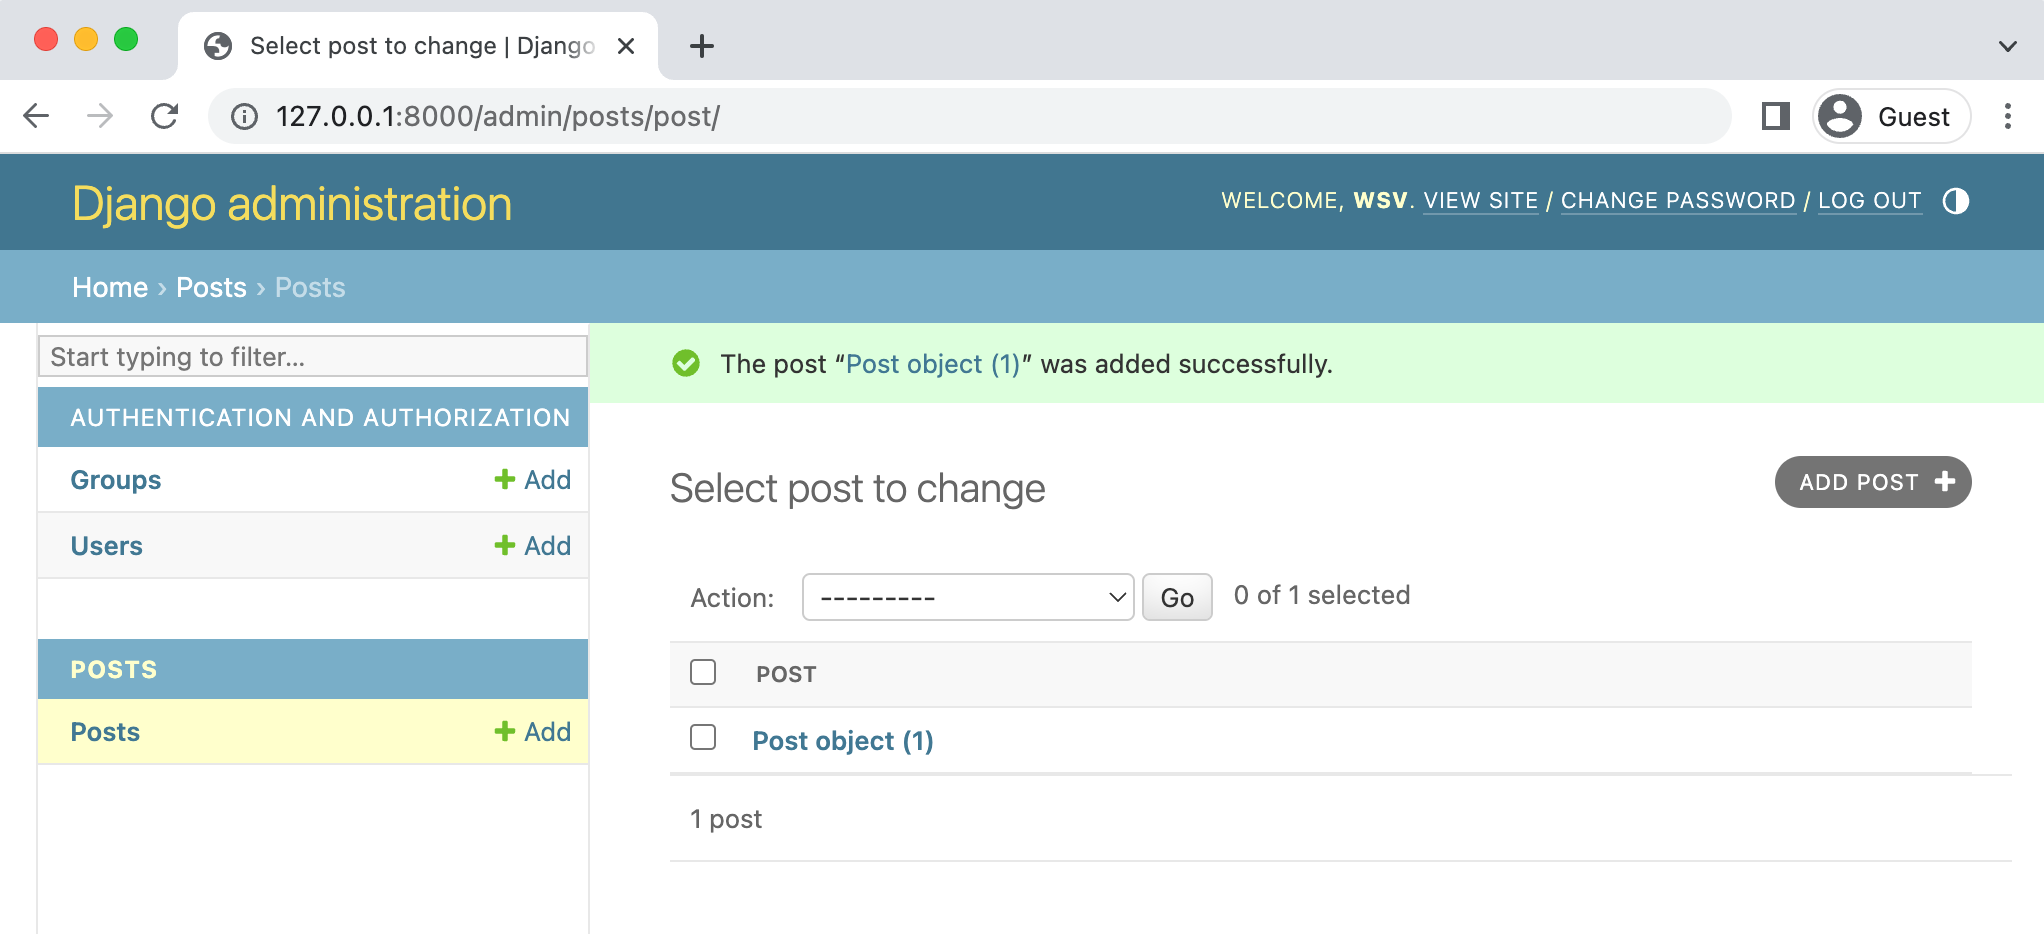
Let’s change that. Within the posts/models.py file, add a new method called str, which provides a human-readable representation of the model. In this case, we’ll have it display the first 50 characters of the text field.
# posts/models.py
from django.db import models


class Post(models.Model):
    text = models.TextField()

    def __str__(self):  # new
        return self.text[:50]
If you refresh your Admin page in the browser, you’ll see it’s changed to a much more descriptive and helpful representation of our database entry.
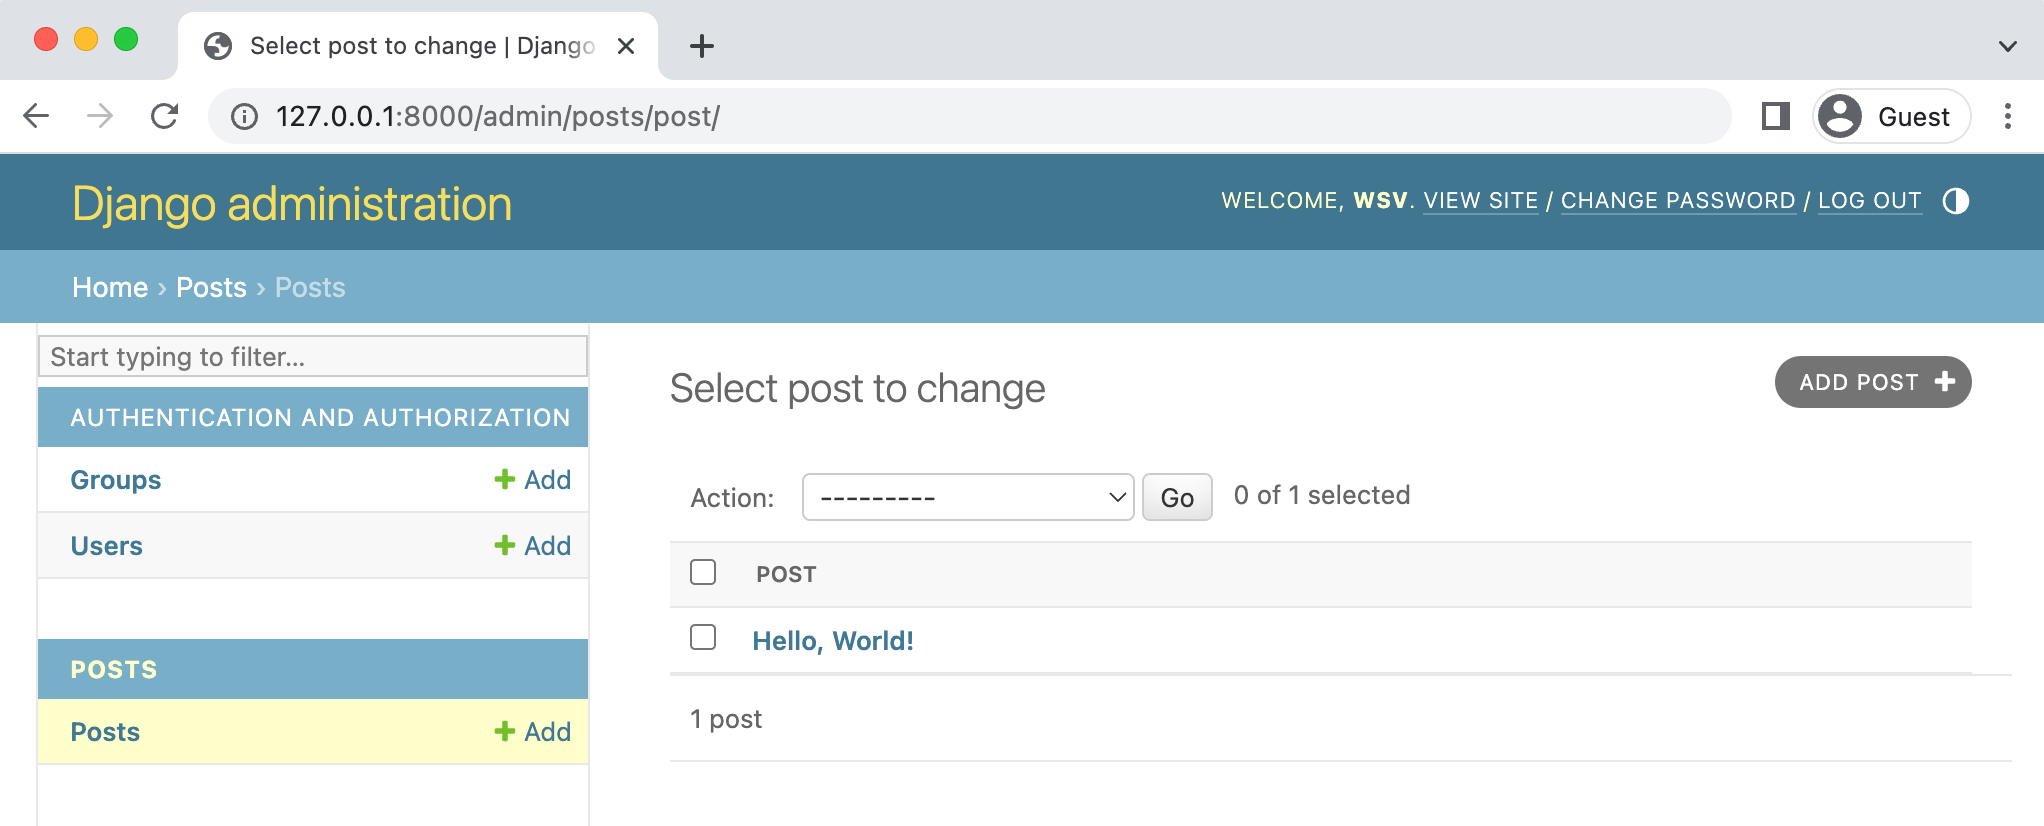
Much better! It’s a best practice to add str() methods to all of your models to improve their readability.
Views/Templates/URLs
In order to display our database content on our homepage, we have to wire up our views, templates, and URLs. This pattern should start to feel familiar now.
Let’s begin with the view. Earlier in the book, we used the built-in generic TemplateView to display a template file on our homepage. Now we want to list the contents of our database model. Fortunately, this is also a common task in web development, and Django comes equipped with the generic class-based ListView.
In the posts/views.py file, replace the default text and enter the Python code below:
# posts/views.py
from django.views.generic import ListView
from .models import Post


class HomePageView(ListView):
    model = Post
    template_name = "home.html"
On the first line, we’re importing ListView and in the second line, we import the Post model. In the view, HomePageView, we subclass ListView and specify the correct model and template.
Our view is complete, meaning we still need to configure our URLs and make our template. Let’s start with the template. Create a new project-level directory called templates.
(.venv) $ mkdir templates
Then update the DIRS field in our django_project/settings.py file so that Django can look in this new templates directory.
# django_project/settings.py
TEMPLATES = [
    {
        ...
        "DIRS": [BASE_DIR / "templates"],  # new
        ...
    },
]
In your text editor, create a new file called templates/home.html. ListView automatically returns to us a context variable called <model>_list, where <model> is our model name, that we can loop over via the built-in for template tag. We’ll create a variable called post and can then access the desired field we want to be displayed, text, as post.text.
<!-- templates/home.html -->
<h1>Message board homepage</h1>
<ul>
  {% for post in post_list %}
  <li>{{ post.text }}</li>
  {% endfor %}
</ul>
The last step is to set up our URLs. Let’s start with the django_project/urls.py file, where we include our posts app and add include on the second line.
# django_project/urls.py
from django.contrib import admin
from django.urls import path, include  # new

urlpatterns = [
    path("admin/", admin.site.urls),
    path("", include("posts.urls")),  # new
]
Then in your text editor, create a new urls.py file within the posts app and update it like so:
# posts/urls.py
from django.urls import path
from .views import HomePageView

urlpatterns = [
    path("", HomePageView.as_view(), name="home"),
]
Restart the server with python manage.py runserver and navigate to our homepage, which now lists our message board post.

We’re basically done at this point, but let’s create a few more message board posts in the Django admin to confirm that they will display correctly on the homepage.
Adding New Posts
To add new posts to our message board, go to the admin and create two more posts. If you then return to the homepage, you’ll see it automatically displays the formatted posts. Woohoo!
Everything works, so it is a good time to initialize our directory and create a .gitignore file. In your text editor, create a new .gitignore file and add three lines so that the .venv directory, Python bytecode, and the db.sqlite file are not stored. The local database is just for testing purposes anyway, not for production, and in addition to becoming quite large might contain sensitive information you do not want to be stored in a remote code repository. Therefore it is a best practice not to track it with Git.
# .gitignore
.venv/
__pycache__/
*.sqlite3
Then run git status again to confirm the .venv directory is being ignored, use git add -A to add the intended files/directories, and add an initial commit message.
Then run git status again to confirm the .venv directory is ignored, use git add -A to add the intended files/directories and an initial commit message.
(.venv) $ git init
(.venv) $ git status
(.venv) $ git add -A
(.venv) $ git commit -m "initial commit"
Static Files
Static files are the Django community’s term for additional files commonly served on websites such as CSS, fonts, images, and JavaScript. Even though we haven’t added any yet to our project, we are already relying on core Django static files–custom CSS, fonts, images, and JavaScript–to power the look and feel of the Django admin.
We don’t have to worry about static files for local development because the web server–run via the runserver command–will automatically find and serve them for us. Here is what static files look like in visual form added to our existing Django diagram:
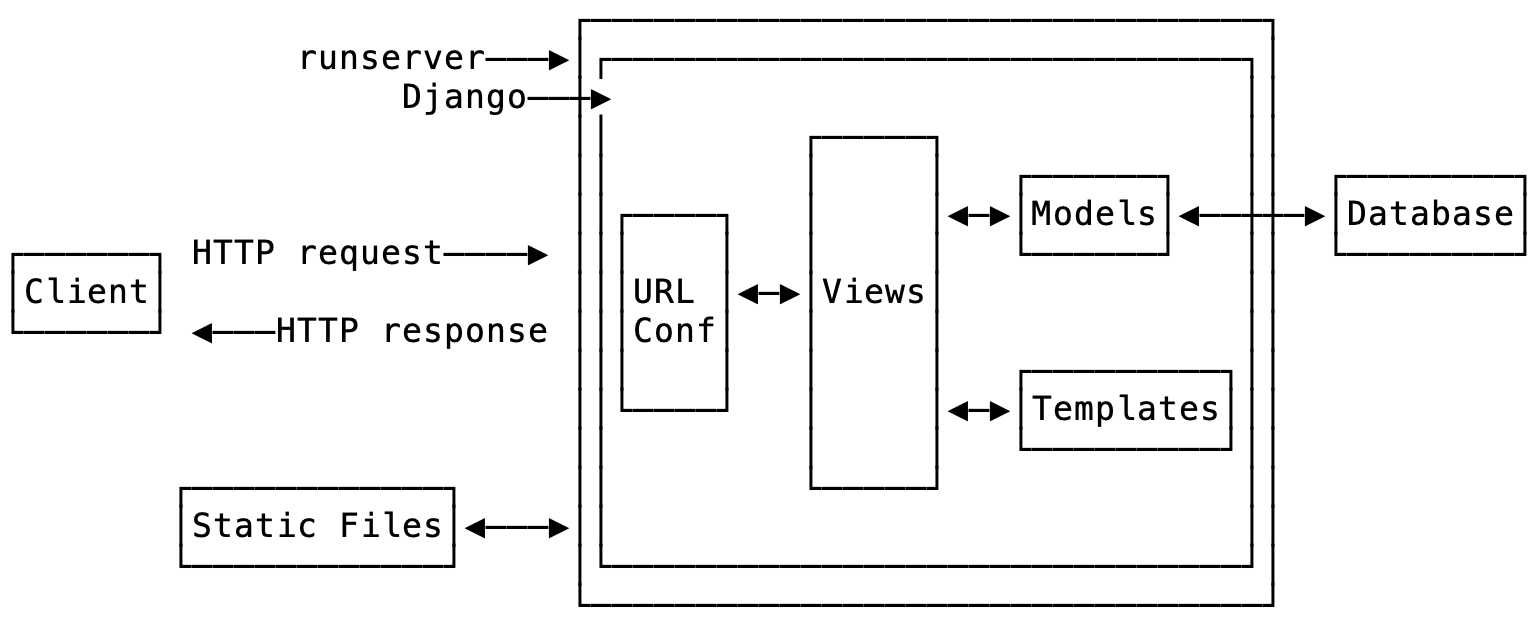
In production, things are more complex, something that we will cover in the next chapter when we deploy this project. The central concept to understand right now is that it is far more efficient to combine all static files across a Django project into a single location in production. If you look near the bottom of the existing django_project/settings.py file, there is already a configuration for STATIC_URL, which refers to the URL location of all static files in production. In other words, if our website had the URL example.com, all static files would be available in example.com/static.
# django_project/settings.py
STATIC_URL = "static/"
The built-in management command, collectstatic, performs this task of compiling all static files into one location on our file system. The location of the static files in our file system is set via STATIC_ROOT. While we have the flexibility to name this new directory anything we want, traditionally, it is called staticfiles. Here’s how to set things up in our project:
# django_project/settings.py
STATIC_URL = "static/"
STATIC_ROOT = BASE_DIR / "staticfiles"  # new
Now run python manage.py collectstatic on the command line, and compile all of our project’s static files into a new root-level directory called staticfiles.
(.venv) $ python manage.py collectstatic
125 static files copied to '~/desktop/code/message-board/staticfiles'.
If you inspect the new staticfiles directory, it contains a single directory at the moment, admin, from the built-in admin app powered by its own CSS, images, and Javascript.
# staticfiles/
└── admin
    ├── css
    ├── img
    ├── js
These steps mean that when we deploy our website into production, the admin will work and display as expected. Expect much more on static files in future chapters, but for now, this will suffice.
Tests
In the previous chapter, we were only testing static pages, so we used SimpleTestCase. Now that our project works with a database, we need to use TestCase, which will let us create a test database. In other words, we don’t need to run tests on our actual database but instead can make a separate test database, fill it with sample data, and then test against it, which is a much safer and more performant approach.
Our Post model contains only one field, text, so let’s set up our data and then check that it is stored correctly in the database. All test methods must start with the phrase test so that Django knows to test them!
We will use the hook setUpTestData() to create our test data: it is much faster than using the setUp() hook from Python’s unittest because it creates the test data only once per test case rather than per test. It is still common, however, to see Django projects that rely on setUp() instead. Converting any such tests over to setUpTestData is a reliable way to speed up a test suite and should be done!
setUpTestData() is a classmethod which means it is a method that can transform into a class. To use it, we’ll use the @classmethod function decorator. As PEP 8 explains, in Python it is a best practice to always use cls as the first argument to class methods. Here is what the code looks like:
# posts/tests.py
from django.test import TestCase

from .models import Post


class PostTests(TestCase):
    @classmethod
    def setUpTestData(cls):
        cls.post = Post.objects.create(text="This is a test!")

    def test_model_content(self):
        self.assertEqual(self.post.text, "This is a test!")
At the top, we import TestCase and our Post model. Then we create a test class, PostTests, that extends TestCase and uses the built-in method setUpTestData to develop initial data. In this instance, we only have one item stored as cls.post that can be referred to in subsequent tests within the class as self.post. Our first test, test_model_content, uses assertEqual to check that the content of the text field matches what we expect.
Run the test on the command line with command python manage.py test.
(.venv) $ python manage.py test
Found 1 test(s).
Creating test database for alias 'default'...
System check identified no issues (0 silenced).
.
----------------------------------------------------------------------
Ran 1 test in 0.001s

OK
Destroying test database for alias 'default'...
It passed! Why does the output say only one test ran when we have two functions? Again, only functions that start with the name test will be run! So while we can use set-up functions and classes to help with our tests, unless a function is named correctly it won’t be executed with the python manage.py test command.
Moving along, it is time to check our URLs, views, and templates like the previous chapter. We will want to check the following four things for our message board page:
- URL exists at
/and returns a 200 HTTP status code - URL is available by its name of “home”
- Correct template is used called “home.html”
- Homepage content matches what we expect in the database
We can include all of these tests in our existing PostTests class since this project has only one webpage. Make sure to import reverse at the top of the page and add the four tests as follows:
# posts/tests.py
from django.test import TestCase
from django.urls import reverse  # new

from .models import Post


class PostTests(TestCase):
    @classmethod
    def setUpTestData(cls):
        cls.post = Post.objects.create(text="This is a test!")

    def test_model_content(self):
        self.assertEqual(self.post.text, "This is a test!")

    def test_url_exists_at_correct_location(self):  # new
        response = self.client.get("/")
        self.assertEqual(response.status_code, 200)

    def test_url_available_by_name(self):  # new
        response = self.client.get(reverse("home"))
        self.assertEqual(response.status_code, 200)

    def test_template_name_correct(self):  # new
        response = self.client.get(reverse("home"))
        self.assertTemplateUsed(response, "home.html")

    def test_template_content(self):  # new
        response = self.client.get(reverse("home"))
        self.assertContains(response, "This is a test!")
If you run our tests again you should see that they all pass.
(.venv) $ python manage.py test
Found 5 test(s).
Creating test database for alias 'default'...
System check identified no issues (0 silenced).
.
----------------------------------------------------------------------
Ran 5 tests in 0.006s

OK
Destroying test database for alias 'default'...
In the previous chapter, we discussed how unit tests work best when they are self-contained and highly verbose. However, there is an argument to be made here that the bottom three tests are just testing that the homepage works as expected: it uses the correct URL name, the intended template name, and contains expected content. We can combine these three tests into one unit test, test_homepage.
# posts/tests.py
from django.test import TestCase
from django.urls import reverse  # new
from .models import Post


class PostTests(TestCase):
    @classmethod
    def setUpTestData(cls):
        cls.post = Post.objects.create(text="This is a test!")

    def test_model_content(self):
        self.assertEqual(self.post.text, "This is a test!")

    def test_url_exists_at_correct_location(self):
        response = self.client.get("/")
        self.assertEqual(response.status_code, 200)

    def test_homepage(self):  # new
        response = self.client.get(reverse("home"))
        self.assertEqual(response.status_code, 200)
        self.assertTemplateUsed(response, "home.html")
        self.assertContains(response, "This is a test!")
Run the tests one last time to confirm that they all pass.
(.venv) $ python manage.py test
Found 3 test(s).
Creating test database for alias 'default'...
System check identified no issues (0 silenced).
.
----------------------------------------------------------------------
Ran 3 tests in 0.005s

OK
Destroying test database for alias 'default'...
Ultimately, we want our test suite to cover as much code functionality as possible yet remain easy for us to reason about. In my view, this update is easier to read and understand.
That’s enough tests for now; it’s time to commit the changes to Git.
(.venv) > git add -A
(.venv) > git commit -m "added tests"
GitHub
We also need to store our code on GitHub. You should already have a GitHub account from previous chapters, so go ahead and create a new repo called message-board. Select the “Private” radio button.
On the next page, scroll down to where it says, “or push an existing repository from the command line.” Copy and paste the two commands there into your terminal, which should look like the below after replacing wsvincent (my username) with your GitHub username:
(.venv) $ git remote add origin https://github.com/wsvincent/message-board.git
(.venv) $ git branch -M main
(.venv) $ git push -u origin main
Conclusion
We’ve now built and tested our first database-driven app and learned how to create a database model, update it with the admin panel, and display the contents on a webpage. Static files were briefly introduced and will be the subject of more coverage later in the book. In the next chapter, we will deploy the message board app and deepen our understanding by adding environment variables, connecting to a production PostgreSQL database, and addressing security concerns around ALLOWED_HOSTS.
This concludes the free sample chapters of the book.
The complete book features 17 chapters and goes in-depth on how to build both a blog app with user authentication and a newspaper site with articles and comments. Additional concepts covered include custom user models, Bootstrap for styling, password change and reset, sending email, permissions, foreign keys, and more.