Chapter 4: Company Website
In this chapter, we will build our third project, a Company Website, while learning more about templates, introducing class-based views, and integrating more advanced testing. This is the final project before we turn to the database and Django models, so it is a chance to reinforce our past learnings and explore what the three other parts of Django–views, URLs, and templates–can do.
Initial Set Up
Our initial setup should start to feel familiar now and contains the following steps:
- make a new directory for our code called
companyand navigate into it - create a new virtual environment called
.venvand activate it - install Django and Black
- create a new Django project called
django_project - create a new app called
pages
On the command line, ensure you’re not working in an existing virtual environment. If there is text before the command line prompt–either > on Windows or % on macOS–then you are! Make sure to type deactivate to leave it.
Within a new command line shell, navigate to the code folder on the desktop, create a new folder called company, change directories into it, and activate a new Python virtual environment called .venv.
# Windows
$ cd onedrive\desktop\code
$ mkdir company
$ cd company
$ python -m venv .venv
$ .venv\Scripts\Activate.ps1
(.venv) $

# macOS
$ cd ~/desktop/code
$ mkdir company
$ cd company
$ python3 -m venv .venv
$ source .venv/bin/activate
(.venv) $
Next, install Django and Black, create a new project called django_project, and create a new app called pages. We’ve called all our apps “pages” because they have been used for relatively static pages. In future projects, we will populate our pages from the database, and the app names will reflect that new dynamic.
(.venv) $ python -m pip install django~=5.0.0
(.venv) $ python -m pip install black
(.venv) $ django-admin startproject django_project .
(.venv) $ python manage.py startapp pages
Remember that even though we added a new app, Django will not recognize it until explicitly added to the INSTALLED_APPS setting within django_project/settings.py. Open your text editor and add it to the bottom now:
# django_project/settings.py
INSTALLED_APPS = [
    "django.contrib.admin",
    "django.contrib.auth",
    "django.contrib.contenttypes",
    "django.contrib.sessions",
    "django.contrib.messages",
    "django.contrib.staticfiles",
    "pages",  # new
]
Initialize the database with migrate and start the local web server with runserver.
(.venv) $ python manage.py migrate
(.venv) $ python manage.py runserver
Then navigate to http://127.0.0.1:8000/ to see the Django welcome page.
Project-Level Templates
We previously saw that Django expects template files to be located within an app in a directory called templates and that it was a best practice to namespace this further by adding the directory name again. In other words, template files for a pages app would be located in a directory at pages/templates/pages/.
However, many Django developers favor another approach: creating a single project-level templates directory and placing all templates within it. This makes finding and updating all the templates in one location easier. By tweaking our django_project/settings.py file, we can also tell Django to look in this directory for templates.
First, quit the running server with the Control+c command. Then, create a directory called templates.
(.venv) $ mkdir templates
Next, we need to update django_project/settings.py to tell Django where our new templates directory is. This requires a one-line change to the "DIRS" configuration under TEMPLATES.
# django_project/settings.py
TEMPLATES = [
 {
 ...
    "DIRS": [BASE_DIR / "templates"],  # new
 ...
 },
]
We’ll use that approach to organizing templates for the rest of the book. Create a new file called home.html within the templates directory. You can do this within your text editor: in Visual Studio Code, go to the top left of your screen, click “File,” and then “New File.” Make sure to name and save the file in the correct location.
For now, the home.html file will have a simple headline.
<!-- templates/home.html -->
<h1>Company Homepage</h1>
Our template is complete! The next step is to configure our URL and view files.
Function-Based View and URL
It is entirely up to the developer whether to write the view first or the URLs. Ultimately, we need both to display our web page, so deciding the execution order becomes a personal preference over time. In this instance, we will start with the view in the pages app.
# pages/views.py
from django.shortcuts import render


def home_page_view(request):  # new
    return render(request, "home.html")
This code should look familiar from the previous chapter. We use the render() shortcut function, which is imported at the top. Then we create our view, home_page_view, and name its first parameter–the HttpRequest object–as request. We return the request object and specify the proper template file, home.html.
Next are the views, both the project-level urls.py file, which serves as our website’s entry point, and the app-specific urls.py file, which has the specific route and view for the home page.
The django_project/urls.py file is the initial entry point for all URL requests to our project. We must import the include function at the top and then use it to include the URL routes from the pages application, which will be set to the empty string of "".
# django_project/urls.py
from django.contrib import admin
from django.urls import path, include  # new

urlpatterns = [
    path("admin/", admin.site.urls),
    path("", include("pages.urls")),  # new
]
The app-level pages/urls.py file imports the view, home_page_view, and sets it to the URL path of the empty string, "".
# pages/urls.py
from django.urls import path

from .views import home_page_view

urlpatterns = [
    path("", home_page_view),
]
Start up the development web server using the runserver command.
(.venv) $ python manage.py runserver
If you navigate http://127.0.0.1:8000/, the home page is now visible.

Easy enough, right? So far, the only new concept introduced is the project-level templates directory.
Template Context, Tags, and Filters
Let’s add a template context to our homepage view and then play around with some of Django’s built-in tags and filters. A tag performs more complex operations such as loops, conditionals, and template inheritance. At the same time, a filter is used to perform more simple transformations that modify the display of variables, such as formatting dates, truncating text, or converting strings to uppercase. There are far too many tags and filters to memorize; it is helpful to know that for almost any content display, there are a host of native solutions.
A template context has a dictionary structure of keys and values. For demonstration purposes, we can add two: an inventory_list of three widgets and a greeting text string that deliberately mixes up upper and lowercase letters.
# pages/views.py
from django.shortcuts import render


def home_page_view(request):
    context = {  # new
        "inventory_list": ["Widget 1", "Widget 2", "Widget 3"],
        "greeting": "THAnk you FOR visitING.",
    }
    return render(request, "home.html", context)
Update the home.html template file with the following code. The now tag displays the current date and/or time using DATE_FORMAT, one of several display options. Next, display the number of items in the inventory_list using the length filter, which works on both strings and lists.
Then, loop over each item in the for tag. The general syntax is `` tag to conclude any for loop. In this case, the sequence is named inventory_list. We could name the variable anything we like, but a description such as item is a common choice that makes the code easier to reason about. Finally, we use the title filter to convert a string into titlecase where each word starts with an uppercase letter followed by lowercase letters.
<!-- templates/home.html -->
<h1>Company Homepage</h1>
<p>The current date and time is: {% now "DATETIME_FORMAT" %}</p>
<p>There are {{ inventory_list|length }} items of inventory.
<ul>
 {% for item in inventory_list %}
 <li>{{ item }}</li>
 {% endfor %}
</ul>
<p>{{ greeting| title }}</p>
{% comment %}Add more content here!{% endcomment %}
The local web server should still be running in the background with the runserver command, so you only need to refresh the web page to see the changes.

The goal here is not to overwhelm you with many new Django features you need to memorize. There are way too many tags and filters to remember. Instead, it is to emphasize that for almost any web development task you have in mind, Django probably has a built-in solution, which is why the official documentation is indispensable and a daily part of development for a professional Django developer.
Class-Based Views and Generic Class-Based Views
The closest thing to a religious debate within the Django community concerns function-based views–what we’ve been working with so far–and class-based views. Early versions of Django only shipped with function-based views, which are arguably simpler to understand than their class-based counterparts because they mimic the HTTP request/response cycle. This book starts off using only function-based views for this very reason.
Function-based views do have their drawbacks. They lack an easy means of inheritance, meaning developers must repeat the same code snippets repeatedly in each view. That violates Django’s general DRY (Don’t Repeat Yourself) approach. But even when not repeating the same code, function-based views typically become lengthy in real-world projects and, therefore, difficult to reason about. It is common to see views with ten, twenty, or even more lines of logic, which becomes difficult to reason about.
Generic function-based views were introduced early in Django’s development to abstract common patterns and avoid code duplication. Examples include:
- Write a view that displays a single template (as we’ve just done here)
- Write a view that lists all objects in a database model.
- Write a view that displays only one detailed item from a model.
- Write a view to create, update, or delete an object
The problem with generic function-based views was that there was no easy way to extend or customize them. As projects grow, this becomes more and more of an issue.
Django added class-based and generic class-based views to help with code reusability while retaining function-based views. Classes are a fundamental part of Python that rely on object-oriented programming (OOP) and inheritance, so one class can inherit attributes and methods from another. That means we don’t have to include all the logic for a view in one place but rather can abstract common patterns and then customize or extend them as needed. A thorough discussion of Python classes and OOP is beyond the scope of this book. Still, if you need an introduction or refresher, I suggest reviewing the official Python docs, which have an excellent tutorial on classes and their usage.
Once you have used generic class-based views for a while, they become elegant and efficient ways to write code. You can often modify a single method on one to do custom behavior rather than rewriting everything from scratch, which makes it easier to understand someone else’s code. However, this comes at the cost of complexity and requires a leap of faith because it takes a long time to understand how they work under the hood. An entire website, Classy Class-Based Views, is dedicated to helping Django developers decipher generic class-based views.
The Django codebase itself was shifted to primarily class-based and generic class-based views. Generic function-based views were deprecated in Django 1.3 and removed entirely in version 1.5.
The result of these changes to Django over the years is that there are now three different ways to write a view in Django: function-based, class-based, or generic class-based. This is understandably very confusing to beginners.
Earlier editions of this book focused entirely on generic class-based views, but this version includes both. A Django developer needs to understand how each approach works, even if they will undoubtedly have a personal preference over time.
TemplateView
Let’s create a second web page for our Company site, this time using TemplateView, a generic class-based view. This will be for an about page that also takes advantage of the template context and the Django Templating Language.
At the top of the views.py file, import TemplateView from the django.views.generic module. Then create a class, AboutPageView, that extends TemplateView and specifies a template, about.html. In Python, the convention for naming classes is to use “CamelCase,” where the first letter in a word is capitalized, and there are no underscores between words.
# pages/views.py
from django.shortcuts import render
from django.views.generic import TemplateView  # new


def home_page_view(request):
    context = {
        "inventory_list": ["Widget 1", "Widget 2", "Widget 3"],
        "greeting": "THAnk you FOR visitING.",
    }
    return render(request, "home.html", context)


class AboutPageView(TemplateView):  # new
    template_name = "about.html"
Next, update the pages/urls.py file to display the new view. We import AboutPageView and set a route to about/ while specifying AboutPageView as the view.
# pages/urls.py
from django.urls import path

from .views import home_page_view, AboutPageView  # new

urlpatterns = [
    path("about/", AboutPageView.as_view()),  # new
    path("", home_page_view),
]
Note the addition of the as_view() method that returns a callable view. The only fundamental difference in configuring URLs for class-based versus function-based views is that this method must be added.
The last step is creating our template file, about.html. With your text editor, add this new file within the existing templates directory with the following code:
<!-- templates/about.html -->
<h1>Company About Page</h1>
Now make sure the local server is running and navigate to 127.0.1:8000/about/ in your web browser.

Easy enough, right?
get_context_data()
One of the most powerful, useful, and commonly used methods in Django is get_context_data(). It is the recommended approach for updating the template context in a generic class-based view. Let’s use it now to add context data to the About page.
# pages/views.py
...
class AboutPageView(TemplateView):
    template_name = "about.html"

    def get_context_data(self, **kwargs):  # new
        context = super().get_context_data(**kwargs)
        context["contact_address"] = "123 Main Street"
        context["phone_number"] = "555-555-5555"
        return context
...
To begin with, we override the existing get_context_data() method. The first parameter is self, and the second is **kwargs, allowing us to pass in keyword arguments. This is how we can add a key/value to the context.
The next step is to set a variable called context with the existing value of our context. How do we do that? Call super() on get_context_data and include any keyword arguments. Then we add two keys, contact_address and phone_number, along with their corresponding values. The last step is always to explicitly return the now-updated context.
To render context variables in our template, we use double brackets, {{ }}.
<!-- templates/about.html -->
<h1>Company About Page</h1>
<p>The company address is  and the phone number is
  .</p>
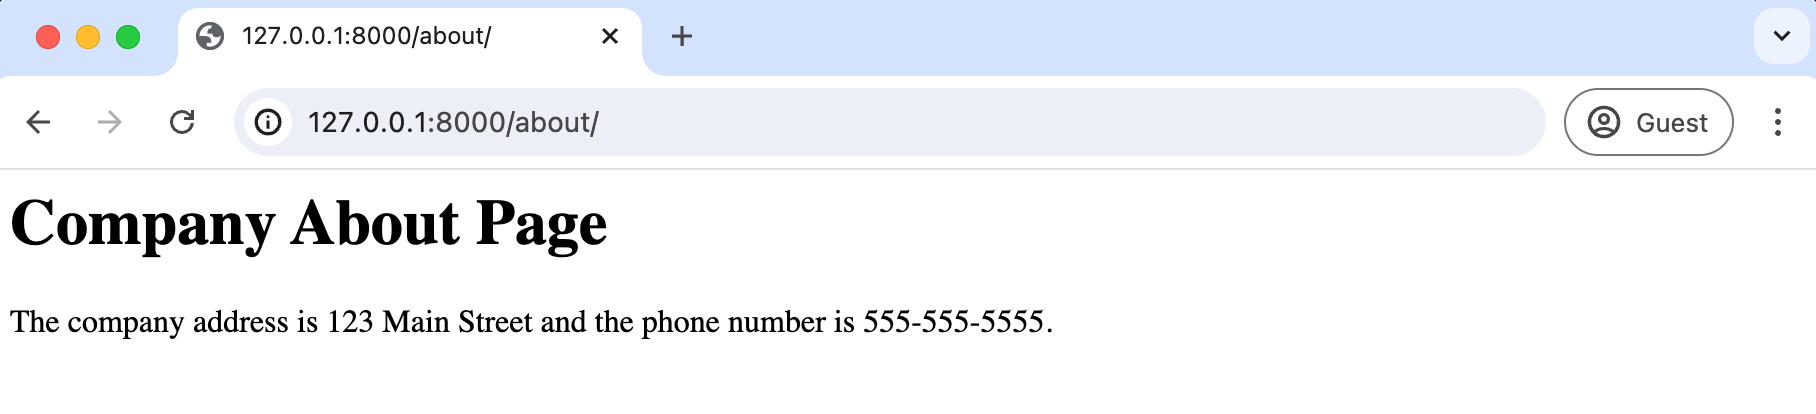
Refresh the About page in your web browser to see this information displayed.
Using generic class-based views might seem unnecessary at the moment, but their true power will become apparent in the next chapter when we start working with a database.
Template Inheritance
This chapter is all about templates and views. We’ve already covered a lot of information: template context, template tags and filters, and class-based views. However, one more powerful feature of templates is that they can be extended.
If you think about most websites, the same content appears on every page (header, footer, etc.). Wouldn’t it be nice if we, as developers, could have one canonical place for our header code that all other templates would inherit? Well, we can!
Within the templates directory, create a base.html file containing a header with links to our home page and about pages. This is our parent template, which all other child templates will inherit from. To define what areas can be overridden, we’ll use block tags in the syntax {% block content %} and {% endblock %}. Anything within the block tags can be overridden in a child template.
<!-- templates/base.html -->
<header>
 <a href="/">Home</a> |
 <a href="/about">About</a>
</header>

{% block content %}{% endblock %}
The extends tag allows us to establish parent/child relationships between our templates by specifying the parent template. Add it to the top of the home.html and about.html templates. Then define our child template content with {% block content %} and {% endblock %} tags.
<!-- templates/home.html -->
{% extends "base.html" %}

{% block content %}
<h1>Company Homepage</h1>
<p>The current date and time is: {% now "DATETIME_FORMAT" %}</p>
<p>There are  items of inventory.
<ul>
 {% for item in inventory_list %}
 <li>{{ item }}</li>
 {% endfor %}
</ul>
<p></p>
{% comment %}Add more content here!{% endcomment %}
{% endblock %}
<!-- templates/about.html -->
{% extends "base.html" %}
{% block content %}
<h1>Company About Page</h1>
<p>The company address is  and the phone number is
  .</p>
{% endblock %}
Refresh each web page in your browser to see the results:
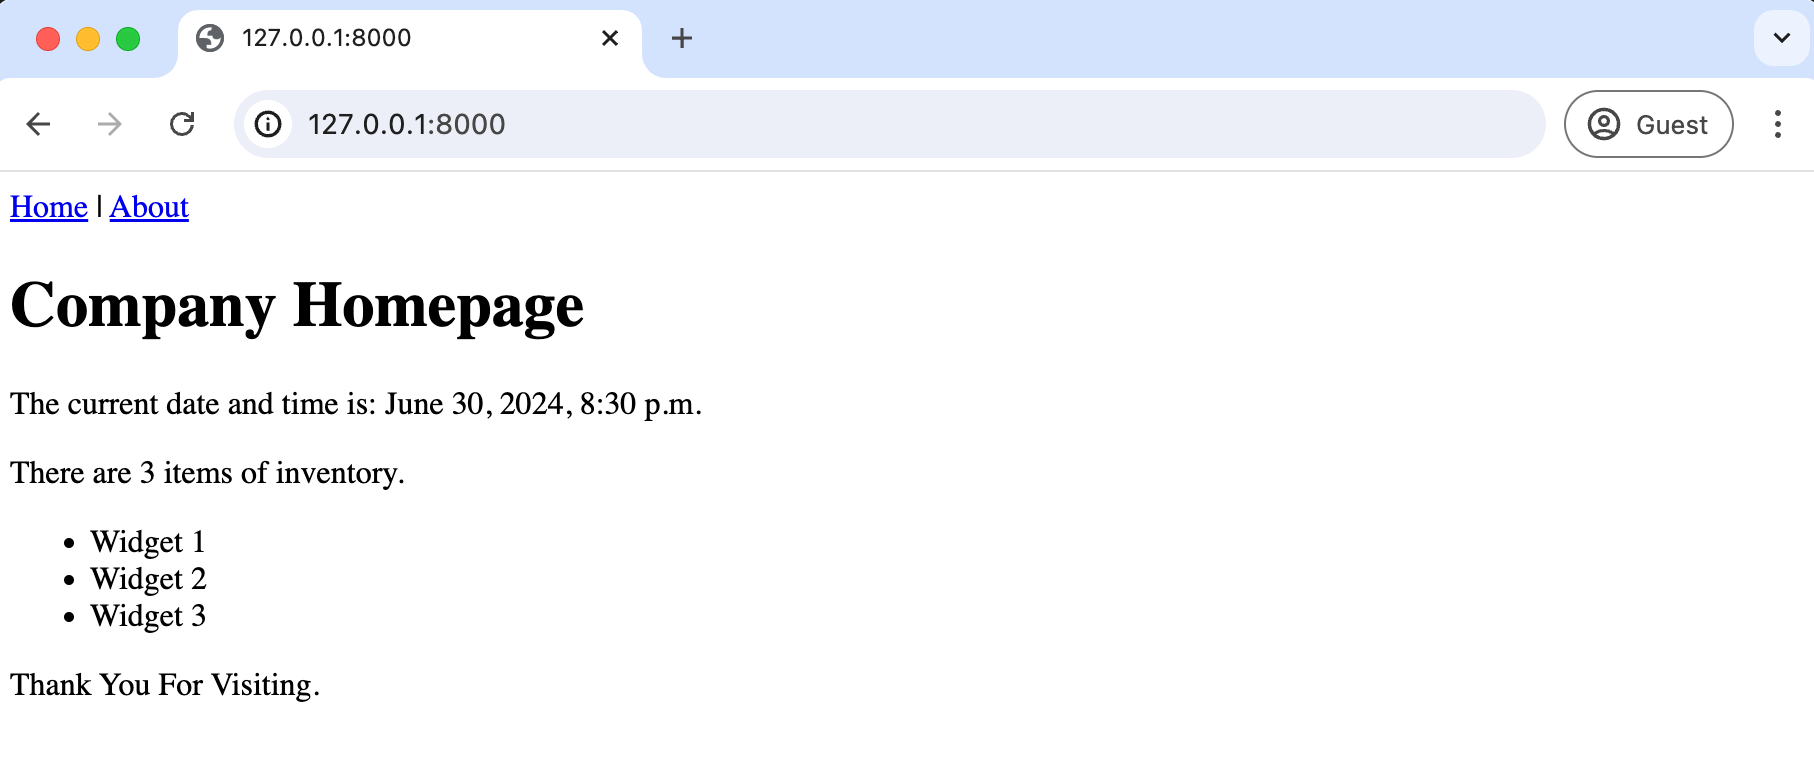
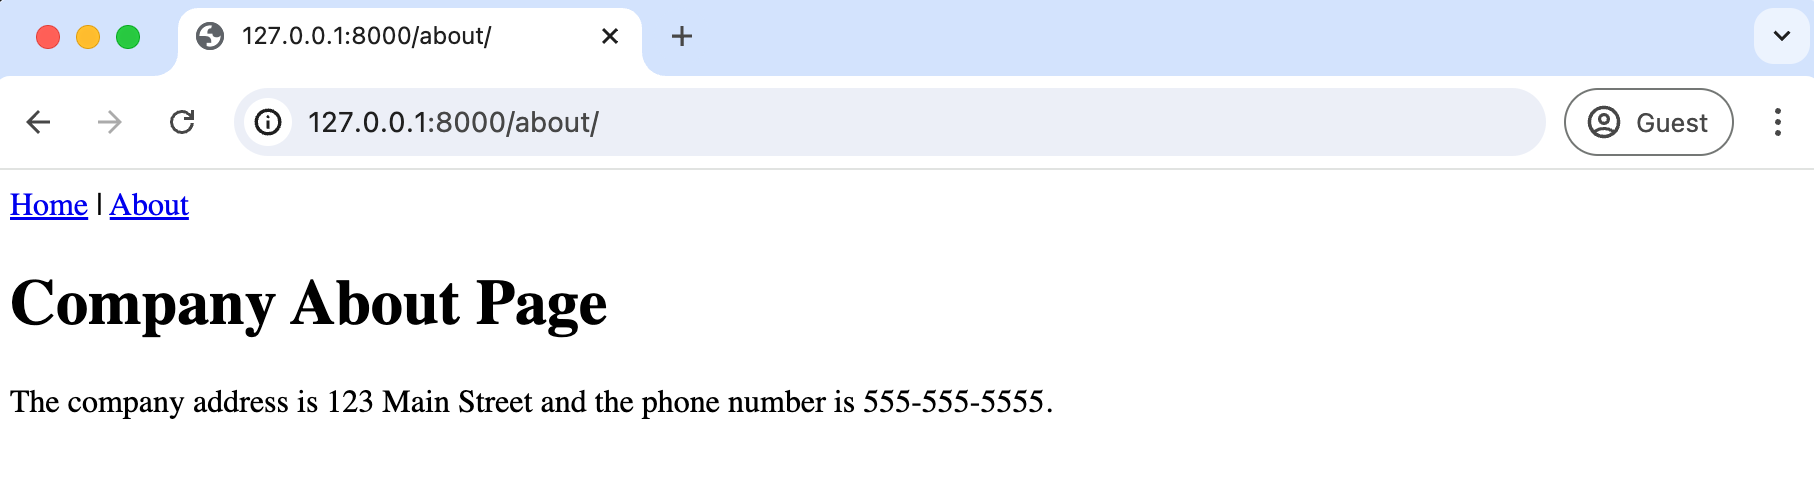
Each page now contains the base.html header with navigation links for Home and About pages.
Named URLs
Experienced web developers may have noticed a problem with our current approach to page links. We have hardcoded URL paths in the views.py and urls.py files. In each place, we specified / for the Homepage and about/ for the About page. What happens if we change the URL path in one place but not another? We’ll get a 404 error for a page not found.
Django takes seriously the idea of having a canonical location for logic. In this case, we want to reference a URL and its associated view once and only once. To do that, we can add a name to our URLs. The path() function accepts the following arguments: path(route, view, kwargs=None, name=None). By default, kwargs and name are set to None, but we can update name here.
# pages/urls.py
from django.urls import path

from .views import home_page_view, AboutPageView

urlpatterns = [
    path("about/", AboutPageView.as_view(), name="about"),  # new
    path("", home_page_view, name="home"),  # new
]
Now, whenever we want to refer to a specific URL path, we can do so using the named URL in our template via the built-in url template tag. Update the base.html file with the code below.
<!-- templates/base.html -->
<header>
 <a href="{% url 'home' %}">Home</a> |
 <a href="{% url 'about' %}">About</a>
</header>

{% block content %}{% endblock %}
If you refresh your website in the browser, both pages and their links work as before. The URL path is now set in only one location–in the urls.py file. Named URLs make your projects easier to maintain and modify, as changes to URL patterns don’t require changes in multiple places in our code. They are a best practice that should be used in all Django projects.
Tests
In the previous chapter, we wrote a single unit test for each webpage, checking that it returned an HTTP 200 code. Let’s do that again as a quick recap before adding more robust tests to our website. Update the pages/tests.py file with the code below:
# pages/tests.py
from django.test import SimpleTestCase


class HomepageTests(SimpleTestCase):
    def test_url_exists_at_correct_location(self):
        response = self.client.get("/")
        self.assertEqual(response.status_code, 200)


class AboutpageTests(SimpleTestCase):
    def test_url_exists_at_correct_location(self):
        response = self.client.get("/about/")
        self.assertEqual(response.status_code, 200)
Then, run the tests by quitting the local web server with Control+c and typing python manage.py test on the command line to run them.
(.venv) $ python manage.py test
Found 2 test(s).
System check identified no issues (0 silenced).
..
----------------------------------------------------------------------
Ran 2 tests in 0.003s

OK
So far, so good. What’s changed in the Company Website versus the previous chapter’s Personal Website? We now have URL names for each URL route, so we should check that they work as expected. We can use the handy Django utility function reverse. Instead of going to a URL path, it looks for the URL name. It is generally a bad idea to hardcode URLs, especially in templates. We can avoid this by using reverse. See a further explanation here in the docs, but we will use reverse more in coming chapters.
Open the existing pages/tests.py file in your text editor and at the following code:
# pages/tests.py
from django.test import SimpleTestCase
from django.urls import reverse  # new


class HomepageTests(SimpleTestCase):
    def test_url_exists_at_correct_location(self):
        response = self.client.get("/")
        self.assertEqual(response.status_code, 200)

    def test_url_available_by_name(self):  # new
        response = self.client.get(reverse("home"))
        self.assertEqual(response.status_code, 200)


class AboutpageTests(SimpleTestCase):
    def test_url_exists_at_correct_location(self):
        response = self.client.get("/about/")
        self.assertEqual(response.status_code, 200)

    def test_url_available_by_name(self):  # new
        response = self.client.get(reverse("about"))
        self.assertEqual(response.status_code, 200)
At the top, we have imported SimpleTestCase since we are not working with a database and then the reverse function. There are two classes of tests corresponding to each web page. HomepageTests checks that the homepage at / returns a 200 status code and then checks that calling reverse on the named URL of “home” does the same. The pattern for both tests is repeated for the About page in the AboutpageTests class.
Run the tests to confirm that they work correctly.
(.venv) $ python manage.py test
Found 4 test(s).
System check identified no issues (0 silenced).
..
----------------------------------------------------------------------
Ran 4 tests in 0.005s

OK
We have tested our URL locations and names but not our templates. Let’s make sure that the correct templates, home.html and about.html, are used on each page and that they contain the expected text of "<h1>Company Homepage</h1>" and "<h1>Company About Page</h1>" respectively. We can use assertTemplateUsed and assertContains to achieve this.
# pages/tests.py
from django.test import SimpleTestCase
from django.urls import reverse


class HomepageTests(SimpleTestCase):
    def test_url_exists_at_correct_location(self):
        response = self.client.get("/")
        self.assertEqual(response.status_code, 200)

    def test_url_available_by_name(self):
        response = self.client.get(reverse("home"))
        self.assertEqual(response.status_code, 200)

    def test_template_name_correct(self):  # new
        response = self.client.get(reverse("home"))
        self.assertTemplateUsed(response, "home.html")

    def test_template_content(self):  # new
        response = self.client.get(reverse("home"))
        self.assertContains(response, "<h1>Company Homepage</h1>")


class AboutpageTests(SimpleTestCase):
    def test_url_exists_at_correct_location(self):
        response = self.client.get("/about/")
        self.assertEqual(response.status_code, 200)

    def test_url_available_by_name(self):
        response = self.client.get(reverse("about"))
        self.assertEqual(response.status_code, 200)

    def test_template_name_correct(self):  # new
        response = self.client.get(reverse("about"))
        self.assertTemplateUsed(response, "about.html")

    def test_template_content(self):  # new
        response = self.client.get(reverse("about"))
        self.assertContains(response, "<h1>Company About Page</h1>")
Run the tests one last time to check our new work. Everything should pass.
(.venv) $ python manage.py test
Found 8 test(s).
System check identified no issues (0 silenced).
..
----------------------------------------------------------------------
Ran 8 tests in 0.006s

OK
Experienced programmers may look at our testing code and note that it is repetitive. For example, we set the response each time for all eight tests. Generally, following DRY (Don’t Repeat Yourself) coding is a good idea, but unit tests work best when they are self-contained and highly verbose. As a test suite expands, combining multiple assertions into a smaller number of tests might make more sense for performance reasons.
We’ll do much more with testing in the future, especially once we start working with databases. For now, it’s important to see how easy and important it is to add tests every time we add new functionality to our Django project.
Git and GitHub
It’s time to track our changes with Git and push them to GitHub. We’ll start by initializing our directory and checking the status of our changes.
(.venv) $ git init
(.venv) $ git status
Then, create a .gitignore file instructing Git on what not to track. We will focus on three areas: the .venv directory with virtual environments, the __pycache__ directory with compiled bytecode, and the database file, db.sqlite3.
# .gitignore
.venv/
__pycache__/
db.sqlite3
The next step is to create a requirements.txt file listing the contents of our virtual environment.
(.venv) $ pip freeze > requirements.txt
(.venv) $ git status
The final step is to run git status again to confirm that requirements.txt is included, but the three items in the .gitignore file are ignored. Then, add all intended files and directories accompanied by an initial commit message.
(.venv) $ git status
(.venv) $ git add -A
(.venv) $ git commit -m "initial commit"
Over on GitHub create a new repo called company-website and make sure to select the “Private” radio button. Then click on the “Create repository” button.
On the next page, scroll down to where it says “…or push an existing repository from the command line.” Copy and paste the two commands there into your terminal.
It should look like the below, albeit instead of wsvincent as the username, it will be your GitHub username.
(.venv) $ git remote add origin https://github.com/wsvincent/company-website.git
(.venv) $ git branch -M main
(.venv) $ git push -u origin main
Conclusion
Congratulations on building and deploying your third Django project! This time, we used both function-based views and generic class-based views to build out our website. We incorporated template inheritance, named URLs, and added more advanced tests. The complete source code for this chapter is available on GitHub if you need a reference. In the next chapter, we’ll move on to our first database-backed project, a Message Board website, and see where Django truly shines.
This concludes the free sample chapters of the book.
The complete book features 17 chapters and goes in-depth on how to build both a blog app with user authentication and a newspaper site with articles and comments. Additional concepts covered include custom user models, Bootstrap for styling, password change and reset, sending email, permissions, foreign keys, and more.