Chapter 3: Personal Website
In this chapter, we will build a Personal Website containing a Homepage and an About page while learning more about Django’s templates, function-based views, and testing. Templates are the presentation layer that controls how data is displayed, but they also allow for inheritance and basic logic consistent with Django’s design philosophy of Don’t Repeat Yourself (DRY). Views combine URLs and templates while adding quite a bit of logic to the data; they are often considered the logic layer in a Django app. The third fundamental concept is testing, which is vital to any web project and well-supported in Django. By the end of this chapter, you will have learned how to work with simple function-based views and templates and write your first tests.
Initial Set Up
Our initial setup is similar to the previous chapter and contains the following steps:
- make a new directory for our code called
personal_websiteand navigate into it - create a new virtual environment called
.venvand activate it - install Django and Black
- create a new Django project called
django_project - make a new app called
pages
Within a new command line shell, navigate to the code folder on the desktop and create a new folder called personal_website. You should not see an active virtual environment, represented by (.venv), before the command line prompt of > on Windows or % on macOS. If you do, you’re still in an existing virtual environment, so type deactivate to leave it. Change directories into personal_website, create a new virtual environment, and activate it.
# Windows
$ cd onedrive\desktop\code
$ mkdir personal_website
$ cd personal_website
$ python -m venv .venv
$ .venv\Scripts\Activate.ps1
(.venv) $

# macOS
$ cd ~/desktop/code
$ mkdir personal_website
$ cd personal_website
$ python3 -m venv .venv
$ source .venv/bin/activate
(.venv) $
Next, install Django and Black, create a new project called django_project, and make a new app called pages. These commands will become very familiar by the end of this book, as the only thing that changes is the name of your project or app.
(.venv) $ python -m pip install django~=5.0.0 black
(.venv) $ django-admin startproject django_project .
(.venv) $ python manage.py startapp pages
Even though we added a new app, Django will not recognize it until we update the INSTALLED_APPS setting within django_project/settings.py. Open your text editor and add it to the bottom now:
# django_project/settings.py
INSTALLED_APPS = [
    "django.contrib.admin",
    "django.contrib.auth",
    "django.contrib.contenttypes",
    "django.contrib.sessions",
    "django.contrib.messages",
    "django.contrib.staticfiles",
    "pages",  # new
]
Initialize the database with migrate and start the local web server with runserver.
(.venv) $ python manage.py migrate
(.venv) $ python manage.py runserver
Then, navigate to http://127.0.0.1:8000/ to see the Django welcome page. With only a few commands, we have a fresh Django project running within a virtual environment, Black installed, and a pages app.
Homepage
A Django “view” is a Python function that accepts a Web request and returns a Web response. When a Web page is requested, Django automatically creates an HttpRequest object with metadata about the request. The view returns an HttpResponse object.
We will begin by repeating the steps from the previous chapter to create a homepage using just a view and a URL dispatcher. Then, we will create an About page using a template and more complex view logic.
Let’s start with the view. Django prepopulates the views.py file within an app with the following code:
# pages/views.py
from django.shortcuts import render

# Create your views here.
We will use render for the About page, so leaving that import as is is fine. For our home page, we will repeat the steps from the previous chapter: import the class HttpResponse, create a view named home_page_view, name the first parameter (which is always the HttpRequest object!) as request, and then return the text “Homepage.”
# pages/views.py
from django.http import HttpResponse
from django.shortcuts import render


def home_page_view(request):
    return HttpResponse("Homepage")
The next step is creating a urls.py file within the pages app that imports path from django.urls, home_page_view from the views.py file in the local directory, and sets a route at the empty string, "", that calls home_page_view.
# pages/urls.py
from django.urls import path

from .views import home_page_view

urlpatterns = [
    path("", home_page_view),
]
The final step is updating the project-level urls.py file, the initial entry point for all URL requests. We import the include function to include other URL configurations and set a URL route of "" for the pages application.
# django_project/urls.py
from django.contrib import admin
from django.urls import path, include  # new

urlpatterns = [
    path("admin/", admin.site.urls),
    path("", include("pages.urls")),  # new
]
That’s it! If the local server is still running on the command line, you should be able to visit the home page in your browser:

Function-Based View About Page
render() is a Django shortcut function useful for working with a template. The first parameter in render() is the request object, and the second parameter is a template name. That means if we want to create a view for an about page using a template called about.html we can write it like this:
# pages/views.py
from django.http import HttpResponse
from django.shortcuts import render


def home_page_view(request):
    return HttpResponse("Homepage")


def about_page_view(request):  # new
    return render(request, "pages/about.html")
The new view is named about_page_view and has as its first parameter the HttpRequest object, which we’ve named request. It uses the render() function to return the request object and a related template named “pages/about.html.”
Templates
Templates are the presentation layer in Django, providing a convenient way to generate HTML files that can also include CSS, JavaScript, and media such as images. By default, Django’s template loading engine looks for a “templates” subdirectory in each app. That means we could add a templates directory within the pages app and then include the about.html in the following way:
└── pages
 ├── templates
 ├── about.html
This approach works, but it is not a best practice. Django chooses the first template it finds whose name matches. What happens if there are about.html files within two separate apps? Django cannot easily tell which one should be used in our function. Fortunately, a simple fix is to namespace template files by placing them within another directory containing the application name. In other words: app -> templates -> app -> template file.
In our pages app, that would look like this:
└── pages
 ├── templates
 ├── pages
 ├── about.html
As a Django best practice, you should always adopt this approach when storing template files within an app. You can create these new directories within your text editor or directly on the command line:
(.venv) $ mkdir pages/templates
(.venv) $ mkdir pages/templates/pages
Then, add a new file called about.html within the pages/templates/pages directory. You can do this in Visual Studio Code by navigating with your mouse to the top left of your screen, clicking “File,” and then “New File.” Make sure to name and save the file in the correct location.
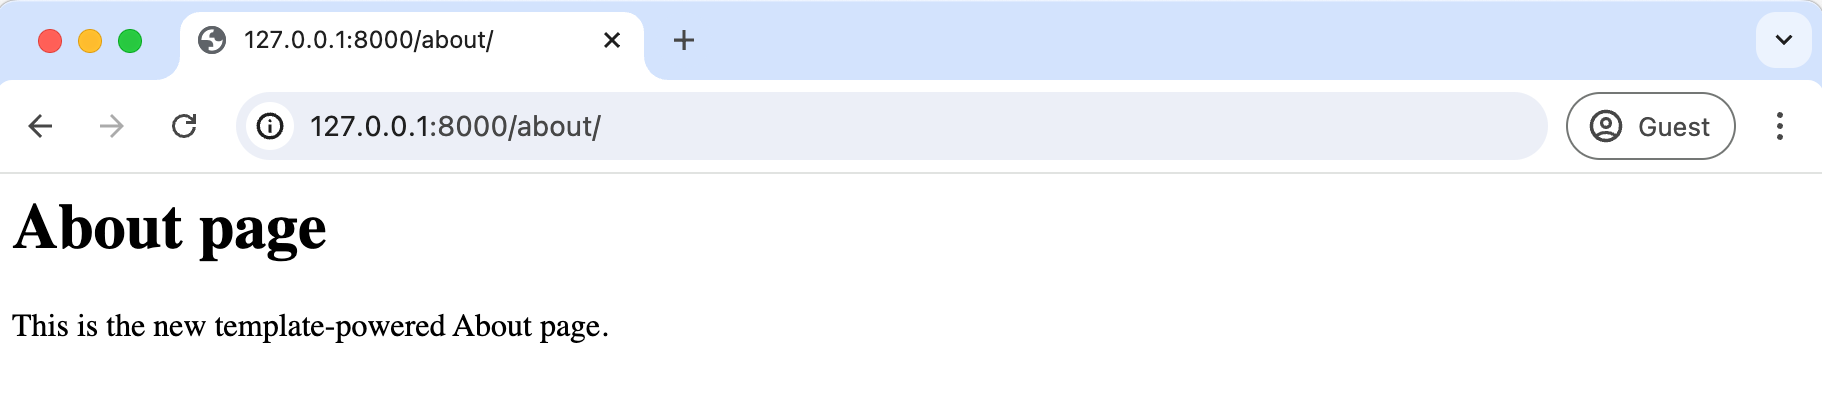
The about.html file will have a <h1> tag for a headline and a <p> tag for paragraph text.
<!-- pages/templates/pages/about.html -->
<h1>About page</h1>
<p>This is the new template-powered About page.</p>
Our template is complete! The view, about_page_view, can access the template when called, but the remaining step is configuring a URL dispatcher.
URL Dispatcher
At this point, the pattern for adding a new URL route should start to feel familiar. We import our view, about_page_view, and then set its path, about/, and the view name.
# pages/urls.py
from django.urls import path

from .views import home_page_view, about_page_view  # new

urlpatterns = [
    path("about/", about_page_view),  # new
    path("", home_page_view),
]
And that’s it! Start up the development web server using the runserver command.
(.venv) $ python manage.py runserver
If you navigate to http://127.0.0.1:8000/about/, the About page will be visible.
The Django Template Language
All web frameworks (including Django) need a way to generate HTML dynamically, and the most common approach is to use templates that contain static content and a special syntax for inserting dynamic content. Django has its own templating language that is not attempting to replace dedicated JavaScript front-ends like Vue, React, or Angular. Rather, it is a deliberately limited–but still powerful–way to use comments, variables, filters, tags, and template inheritance.
Let’s revisit our about.html template to try out some of these features. We’ll begin with comment tags that allow us to add code that is readable to the developer but not displayed on the page. Anything between `` tags will be ignored.
<!-- pages/templates/pages/about.html -->
<h1>About page</h1>
<p>This is the new template-powered About page.</p>
If you save the file and refresh the web browser, the comment will not be visible. It is not rendered on the template HTML sent to the about_page_view and then the web browser. If you want to add multi-line comments, the comment tag can be used, but broadly speaking, Django templates should not be complicated. While it is OK to add basic logic to them, it is better to move the logistical heavy thinking to views or model files (which we will do later in the book).
Template Context
Whenever a Django template is rendered, a context is also created. This context is a dictionary-like object with variable names for keys and variable values as values. We can and will update this context with information, often from a database. When you render a template with a given context, every key in the context dictionary becomes a variable in the template that you can access and use.
The render() shortcut function expects parameters in the following order:
- The
HttpRequestobject conventionally namedrequest - The
template_name - The
contextdictionary
In other words: render(request, template_name, context). By default, context is set to None, but we can manually add information to see it in action.
# pages/views.py
from django.http import HttpResponse
from django.shortcuts import render


def home_page_view(request):
    return HttpResponse("Homepage")


def about_page_view(request):
    context = {"name": "Alice"}  # new
    return render(request, "pages/about.html", context)  # new
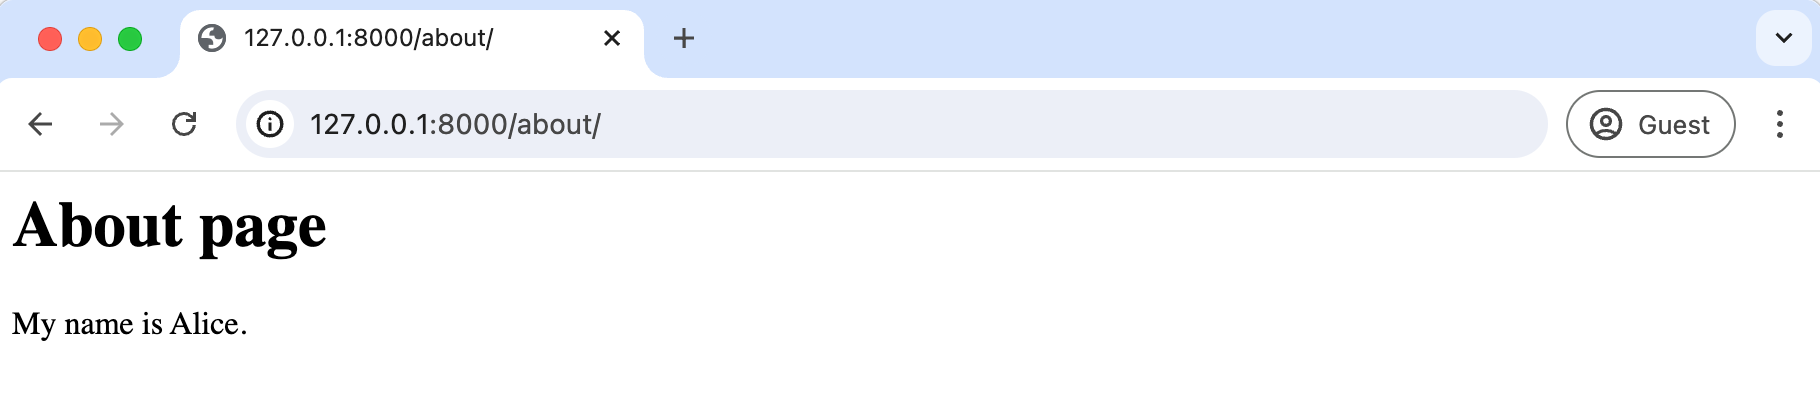
Here, we’ve added a variable, context, containing a dictionary with the key variable of “name” and a value variable of “Alice.” To display the context in our template, the syntax for variables is to surround the variable name with brackets {}. Since the key value is “name,” we type `` to make it visible.
<!-- pages/templates/pages/about.html -->
<h1>About page</h1>
<p>My name is .</p>
If you refresh your browser, it will now show the name “Alice.”
As an exercise, swap out the name “Alice” with your name in the pages/views.py file. Then, refresh the web browser to see if it is now visible on the web page.
We can also add other key/value pairs to the context. For example, let’s add an “age.”
# pages/views.py
from django.http import HttpResponse
from django.shortcuts import render


def home_page_view(request):
    return HttpResponse("Homepage")


def about_page_view(request):
    context = {
        "name": "Alice",
        "age": 33,  # new
    }
    return render(request, "pages/about.html", context)
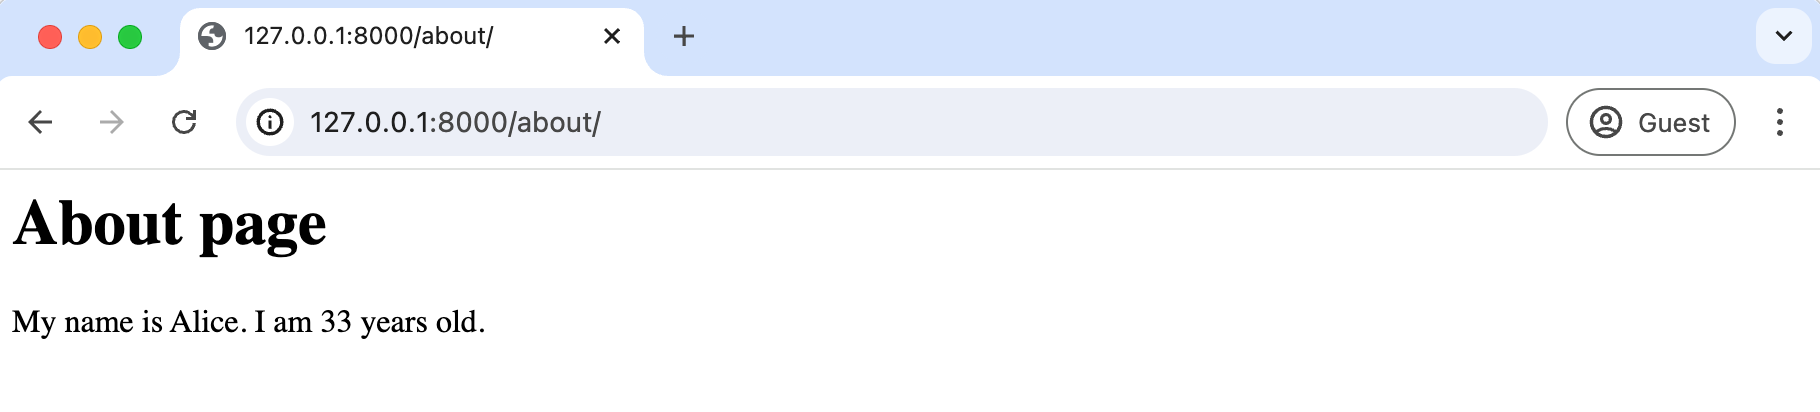
To display the age on our Web page, we can display it as a variable in the template using the syntax ``. Note that name is a string since it is in quotations, whereas 33 is an integer. Setting data types is important in Python code and Django applications, which we will explore shortly.
<!-- pages/templates/pages/about.html -->
<h1>About page</h1>
<p>My name is . I am  years old.</p>
Refresh the About page again to see it update.
In the pages/views.py file, update the age variable with your own age and refresh the web page to see the updated result. Anything we pass as a variable to our template context can be rendered on our web page.
The Django template language also comes with over eighty built-in tags and built-in filters that provide additional functionality. We will explore them in greater depth later in the book.
Tests
Writing tests for your code is as important as writing the code itself. Without accompanying tests, you can’t submit new code changes to an open-source project or within any well-structured company. The reasoning is simple: while your code change may be small, there is no telling what else it might inadvertently break in the project. Writing good tests provides confidence in your codebase, doesn’t take too long, and can be automated to run automatically on any new code changes. In the words of Django co-creator Jacob Kaplan-Moss, “Code without tests is broken as designed.”
Testing can be divided into two main categories: unit and integration. Unit tests check a piece of functionality in isolation, while Integration tests check multiple linked pieces. Unit tests run faster and are easier to maintain since they focus on only a tiny amount of code. Integration tests are slower and harder to maintain since a failure doesn’t point you in the specific direction of the cause. Most developers focus on writing many unit tests and a small number of integration tests.
The next question is, what to test? Anytime you create new functionality, a test is necessary to confirm that it works as intended. For example, in our project, we have a home page and an about page, and we should test that both exist at the expected URLs. It may seem unnecessary now, but as a project grows in size, there’s no telling what can change.
The Python standard library contains a built-in testing framework called unittest that uses TestCase instances and a long list of assert methods to check for and report failures.
Django’s testing framework provides several extensions on top of Python’s unittest.TestCase base class. These include a test client for making dummy Web browser requests, several Django-specific additional assertions, and four test case classes: SimpleTestCase, TestCase, TransactionTestCase, and LiveServerTestCase.
Generally speaking, SimpleTestCase is used when a database is unnecessary, while TestCase is used when you want to test the database. TransactionTestCase is helpful to test database transactions directly while LiveServerTestCase launches a live server thread for testing with browser-based tools like Selenium.
Note: You may have noticed that methods in unittest and django.test are written in camelCase rather than the more Pythonic snake_case pattern. The reason is that unittest is based on the jUnit testing framework from Java, which uses camelCase, so when Python added unittest, it came along with camelCase naming.
If you look within our pages app, Django already provided a tests.py file we can use. Since no database is involved in our project, we will import SimpleTestCase at the top of the file. For our first tests, we’ll check that the two URLs for our website, the Homepage and About page, return HTTP 200 status codes, the standard response for a successful HTTP request.
# pages/tests.py
from django.test import SimpleTestCase


class HomepageTests(SimpleTestCase):
    def test_url_exists_at_correct_location(self):
        response = self.client.get("/")
        self.assertEqual(response.status_code, 200)


class AboutpageTests(SimpleTestCase):
    def test_url_exists_at_correct_location(self):
        response = self.client.get("/about/")
        self.assertEqual(response.status_code, 200)
To run the tests, quit the server with Control+c and type python manage.py test on the command line to run them.
(.venv) $ python manage.py test
Found 2 test(s).
System check identified no issues (0 silenced).
..
----------------------------------------------------------------------
Ran 2 tests in 0.003s

OK
If you see an error such as AssertionError: 301 != 200, you likely forgot to add the trailing slash to "/about" above. The web browser knows to add a slash if not provided automatically, but that causes a 301 redirect, not a 200 success response!
Git and GitHub
It’s time to track our changes with Git and push them to GitHub. We’ll start by initializing our directory and checking the status of our changes.
(.venv) $ git init
(.venv) $ git status
We learned in the last chapter that by creating a .gitignore file, we can instruct Git to ignore certain files and directories. We will include the .venv directory containing our virtual environments. But we will also ignore the __pycache__ directory, which contains bytecode compiled and ready to be executed, and the database itself, db.sqlite3. In addition to being quite large, a file-based database included in source control poses a security risk. It is common to have separate levels of access to a project amongst a large team. Often, every developer can view the source code since any mistakes can be quickly rolled back and changed with Git. Rolling back changes to a production database is considerably more difficult, and most developers don’t need access to it so long as they have a local or testing database available. Thus, it is a best practice to keep your database access separate from your source code, even with file-based databases like SQLite, so we will do that here. Create a new .gitignore file and add the following three lines:
# .gitignore
.venv/
__pycache__/
db.sqlite3
Run git status again to confirm these three files are being ignored. We want a record of installed packages in our virtual environment, which we can do by creating a requirements.txt file.
(.venv) $ pip freeze > requirements.txt
Run git status one final time to confirm that the newly created requirements.txt file is visible. Then, add all intended files and directories and include an initial commit message.
(.venv) $ git status
(.venv) $ git add -A
(.venv) $ git commit -m "initial commit"
Over on GitHub create a new repo called “personal-website” and make sure to select the “Private” radio button. Then click on the “Create repository” button.
On the next page, scroll down to where it says “…or push an existing repository from the command line.” Copy and paste the two commands there into your terminal.
It should look like the below, albeit instead of wsvincent as the username, it will be your GitHub username.
(.venv) $ git remote add origin https://github.com/wsvincent/personal-website.git
(.venv) $ git branch -M main
(.venv) $ git push -u origin main
Conclusion
Congratulations on building your second Django website. The complete source code for this chapter is available on GitHub if you need a reference. Although the website is quite basic, we have explored several fundamental concepts, including function-based views, templates, URL dispatchers, and testing. We also used Git again, created requirements.txt and .gitignore files, and pushed our code to GitHub for the first time. With this foundation in place, we can move more quickly to the the next chapter, where we will build a Company website using class-based views, template inheritance, and even more testing.